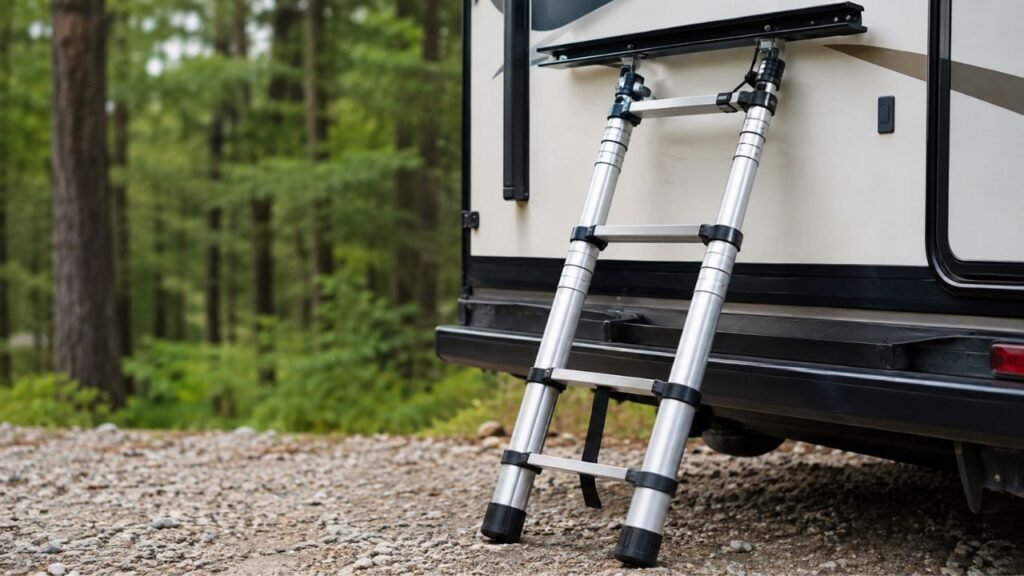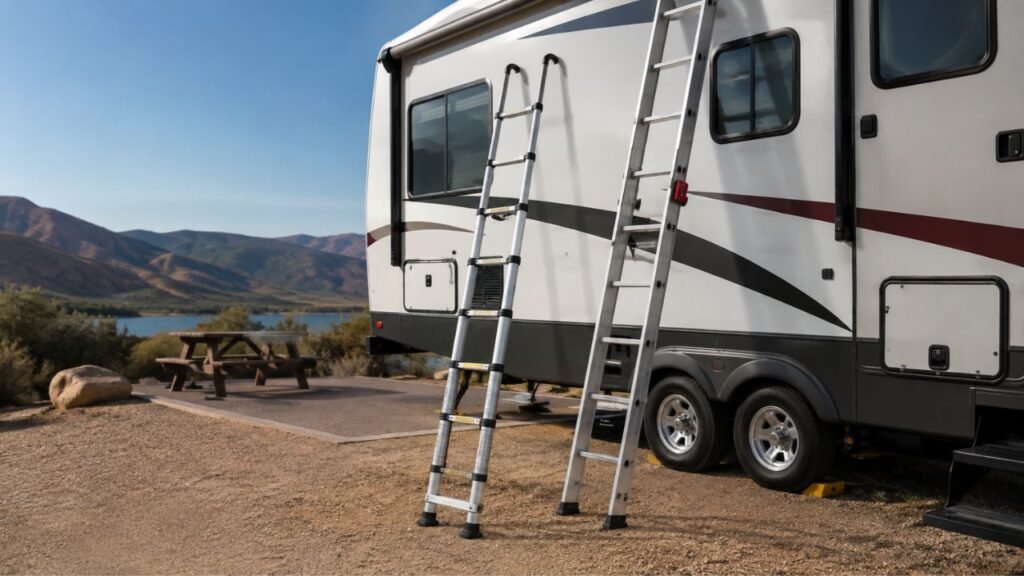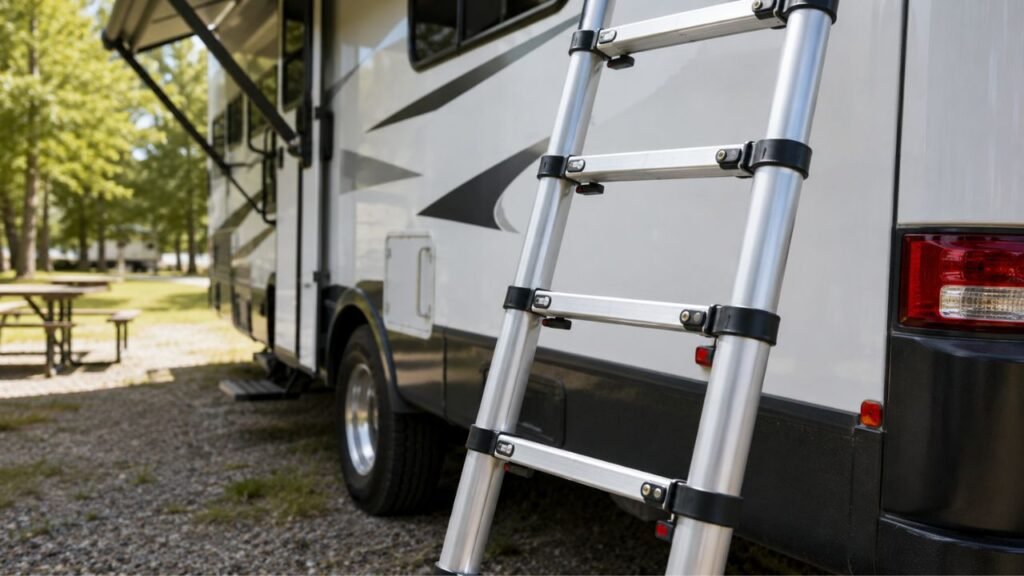
To inspect RV telescoping ladder locking pins, extend each section slowly. Confirm both sides lock, check any indicators, and press downward gently. Look for sticking, corrosion, looseness, cracks, or bent locking components. Never climb if one side fails to lock securely.
In this guide, I’ll walk you through the full inspection process. You’ll also learn what problems matter and when to stop using the ladder.
Key Takeaways
- Inspect every locking section before you climb the ladder.
- Confirm both left and right locks engage completely.
- Never rely only on hearing an audible locking click.
- Check green lock indicators when your ladder includes them.
- Push each rung downward before putting body weight on it.
- Stop using the ladder if any section slips or sticks.
- Follow your ladder manufacturer’s cleaning and maintenance instructions.
What Should Properly Engaged Ladder Locking Pins Look and Feel Like?
A properly engaged telescoping ladder lock should feel firm and positive. You should not feel uncertain movement after the section locks.
Most telescoping ladders use locking mechanisms on both rung sides. Each side needs to engage before the rung carries your weight.
When you extend a section, you may hear a clear click. That sound usually means the locking mechanism moved into position.
However, I would never use the sound as your only check.
Look at both sides of the rung closely. If your ladder has indicator windows, verify their locked position.
Many models use green indicators for proper engagement. Others may use different markings or designs.
The rung should also remain completely stable under downward pressure. It should not drop, shift, or partially retract.
If the rung moves unexpectedly, treat that as a failed lock.
How Do You Inspect RV Telescoping Ladder Locking Pins Step by Step?
The safest approach is checking one section at a time. That makes it easier to spot which lock has problems.
1. Start With the Ladder Fully Retracted
Place the ladder on firm, level, and clean ground first.
Do not begin the inspection while the ladder leans against your RV. You want complete control during the first checks.
Look along both ladder rails for visible damage or bending. Check whether any rung sits crooked compared with surrounding sections.
Also inspect areas around the release buttons and locking openings. Remove loose leaves, sand, mud, or storage debris.
If the ladder recently fell or received an impact, look carefully. Even minor bending can affect locking-pin alignment.
2. Extend One Ladder Section at a Time
Extend the ladder slowly instead of pulling everything upward quickly.
Working section by section helps you identify locking problems immediately. You can tell exactly which rung sounds or feels different.
Keep your hands clear of pinch areas during this process.
Some telescoping ladders use specific extension procedures. Follow your model’s instructions whenever they differ from general guidance.
3. Listen for Positive Lock Engagement
As each section reaches its operating position, listen carefully.
A healthy locking mechanism often produces a noticeable click. The sound tells you something inside moved into position.
Still, hearing the click does not finish your inspection.
One side could engage while the opposite lock remains incomplete. That is why the next steps matter much more.
4. Check the Lock on Both Sides of the Rung
Now inspect both sides of the extended rung.
Look closely at the left locking mechanism first. Then check the right side separately.
Do not assume both locks operate together correctly.
Make sure both pins or locking parts appear fully seated. Check whether one side looks shallower or different.
Also examine release buttons and nearby plastic components.
They should sit evenly without visible cracking or distortion.
If only one side appears locked, do not climb the ladder.
Retract that section carefully and investigate the cause first.
5. Confirm the Lock Indicator
Some telescoping ladders include visual safety indicators near each rung.
These indicators give you another useful confirmation before climbing.
Many ladders display green when a lock fully engages. Red may indicate an unlocked or incomplete position.
However, indicator systems vary between ladder brands.
Always follow the markings printed on your specific ladder.
If both sides should show green, verify both sides independently.
Never ignore one incorrect indicator because the opposite side looks fine.
6. Push Down on the Rung
After checking both locks, apply controlled downward pressure.
Do this while standing safely beside the ladder.
The rung should remain firmly in position without dropping.
You should not notice sudden movement, clicking, or partial retraction.
This step helps confirm that the locks actually hold load.
Do not test a questionable rung by climbing onto it.
Your body weight should never become the first real safety test.
7. Inspect Pins and Release Mechanisms for Damage
Look closely around every locking mechanism before moving upward.
Check for:
- Bent or visibly damaged locking parts
- Cracked release buttons or plastic housings
- Rust around pins or locking openings
- Sand, mud, or dried debris
- Loose rivets or fasteners
- Abnormal gaps around rung connections
- Sticky or slow-moving release controls
- Components that do not return normally
Pay attention to anything that looks different from other sections.
A comparison between rungs often helps reveal early damage.
8. Repeat the Check on Every Extended Section
Continue the same inspection through each section you extend.
Do not check only the first few lower rungs.
Every extended section carries part of your climbing load.
One poorly engaged lock can create a serious fall hazard.
Before climbing, take one final look across both ladder rails.
Every required lock should appear properly seated and consistent.
RV Telescoping Ladder Locking-Pin Problems: Safe or Unsafe?
Some problems are minor maintenance issues. Others mean the ladder should not be used at all.
| What You Notice | What It May Mean | What You Should Do |
| Both locks engage firmly | Normal operation | Continue your inspection |
| Only one side locks | Misalignment, debris, or lock failure | Do not climb |
| Indicator stays unlocked or red | Incomplete engagement | Retract and inspect again |
| Rung drops when pressed | Lock is not holding | Remove ladder from use |
| Lock button sticks | Dirt, corrosion, or wear | Clean as manufacturer allows |
| Locking part looks bent | Mechanical damage | Do not use the ladder |
| Heavy corrosion appears | Lock strength may be compromised | Stop using and inspect further |
| Plastic release part is cracked | Release system may fail | Do not climb |
| Rivet or connection feels loose | Structural movement may exist | Remove ladder from use |
| Lock works only after repeated attempts | Developing mechanical issue | Stop relying on that section |
What Causes RV Ladder Locking Pins to Stick or Fail?
Locking problems usually develop from contamination, corrosion, wear, or impact damage. RV travel can expose ladders to all four.
Dirt, Sand, and Road Debris
Telescoping ladders often travel inside exterior RV storage compartments.
Those compartments can collect dust, grit, sand, and dried mud.
The ladder also picks up debris around campgrounds and boondocking sites.
Small particles can reach sliding sections and locking openings.
Over time, that contamination may make locks feel slow or sticky.
If one rung suddenly becomes harder to operate, check for debris.
Do not repeatedly force the section until it finally locks.
Moisture and Corrosion
Water is another common problem around locking components.
Rain, condensation, coastal air, and damp storage can encourage corrosion.
Road salt creates another concern during winter RV travel.
Inspect metal locking areas carefully after exposure to these conditions.
Light discoloration deserves attention before it becomes significant corrosion.
Deep rust around safety-critical parts should never be ignored.
Bent or Misaligned Telescoping Sections
A ladder does not need dramatic damage to become misaligned.
Dropping it onto hard pavement can shift or bend components.
A hard impact inside an RV storage bay can also matter.
Misalignment may prevent a locking pin from seating correctly.
You may notice one side engaging before the other.
You might also feel increased resistance during extension.
Do not bend parts back into position with improvised tools.
Locking components need precise alignment to work safely.
Worn Locks or Release Buttons
Every telescoping ladder experiences wear through repeated operation.
Release buttons, springs, pins, and surrounding parts may gradually change.
Watch for changes in how a familiar ladder feels.
A lock that suddenly needs several attempts deserves investigation.
Likewise, a release button should not remain partly depressed.
Unexpected changes are often early warning signs.
Can You Clean or Lubricate RV Telescoping Ladder Locking Pins?
You can usually clean accessible dirt around telescoping ladder locks. Lubrication requires more caution because manufacturer recommendations vary.
Begin by removing loose dust and debris from the ladder.
Wipe accessible surfaces using a clean, dry cloth.
If your manufacturer permits mild cleaning, follow those instructions carefully.
Make sure telescoping sections are dry before storing the ladder.
Avoid packing grease into locking openings.
Thick grease can attract dirt and create more contamination.
I also would not flood concealed lock mechanisms with spray lubricant.
Some ladder manufacturers allow specific silicone-based products.
Other manufacturers advise against lubrication because debris can accumulate.
For that reason, check your ladder manual before applying anything.
If a lock remains stiff after approved cleaning, stop using it.
A sticky safety mechanism needs proper diagnosis, not repeated force.
How Often Should You Inspect Telescoping Ladder Locking Pins?
You do not need to wait for an annual maintenance day. Several situations deserve an immediate locking-pin inspection.
- Before every use: Check both locks on every extended section.
- After long storage: Look for corrosion, insects, dirt, or sticking.
- After dusty roads: Inspect telescoping tubes and locking openings.
- After rain: Dry the ladder and check metal lock components.
- After coastal travel: Look closely for salt-related corrosion.
- After dropping the ladder: Perform a complete inspection before reuse.
- After hard retraction: Check affected rungs for damage or misalignment.
- After unexpected slipping: Stop using the ladder immediately.
A quick inspection before each climb is the safest habit.
It usually takes less time than positioning the ladder itself.
When Should You Stop Using an RV Telescoping Ladder?
Certain defects should end the inspection immediately. Continuing to climb is not worth testing a questionable locking system.
Stop using the ladder when:
- Either locking mechanism will not fully engage.
- Only one side shows the proper lock indication.
- A rung moves downward after locking.
- A locking pin or component looks bent.
- The release mechanism does not return normally.
- A plastic locking component is cracked.
- Significant rust appears around locking parts.
- A ladder rail or coupling looks bent.
- Rivets or major fasteners feel loose.
- A section repeatedly jams during extension.
- A section needs several attempts before locking.
- The ladder suffered significant impact damage.
Do not climb carefully “just this once.”
That approach turns an inspection problem into a fall risk.
If you cannot confidently verify the lock, remove the ladder.
Contact the manufacturer or replace the ladder when appropriate.
Should You Repair a Faulty Telescoping Ladder Lock Yourself?
Minor cleaning may be reasonable when your manual permits it.
Internal locking repairs are a completely different matter.
The locking system supports your weight while you climb.
I would not drill, grind, bend, shim, or modify locking parts.
Avoid replacing hidden components with unrelated hardware.
A homemade solution may look strong while changing lock geometry.
If your manufacturer offers approved replacement parts, follow its procedure.
Otherwise, contact the company about repair or replacement options.
Replacing a damaged ladder often costs less than a serious fall.
RV-Specific Safety Checks to Make Before You Climb
Locking pins are only one part of a safe RV ladder setup. Finish with a few checks specific to RV roof access.
- Confirm any RV receiver or mounting bracket is fully secured.
- Place both ladder feet on firm, stable ground.
- Use the ladder angle specified by its manufacturer.
- Confirm the upper contact points cannot slide sideways.
- Keep every required extended section fully locked.
- Maintain proper handhold above the roof access point.
- Never brace the ladder against weak RV trim.
- Avoid using an awning housing as improvised ladder support.
- Recheck the locks after moving the ladder.
- Keep the climbing area clear of cords and campsite equipment.
Also check the ground beneath the ladder.
Soft campsite soil can settle after you begin climbing.
Leveling blocks designed for RV tires are not automatically ladder supports.
The ladder feet need secure contact with stable ground.
Common Mistakes When Checking Telescoping Ladder Locks
These mistakes can make a quick inspection much less effective.
- Assuming one audible click means both locks engaged
- Inspecting only the lower ladder sections
- Ignoring different indicators on opposite sides
- Forcing a section that feels unusually stiff
- Spraying random lubricant into locking mechanisms
- Testing a questionable rung using body weight
- Using a lock that only works after several attempts
- Ignoring cracks because the pin still moves
- Continuing to use heavily corroded locking parts
- Checking the ladder only once each camping season
The goal is not simply making the ladder extend.
You need each extended section to lock predictably every time.
Final Words
Inspecting RV telescoping ladder locking pins does not need complicated tools. Extend each section carefully, verify both locks, check indicators, and test the rung.
If anything sticks, slips, bends, cracks, or behaves inconsistently, stop there. A few extra minutes checking the ladder can prevent a much bigger problem.
Related FAQs
Should Both Sides of a Telescoping Ladder Rung Lock?
Yes, when your ladder uses locking mechanisms on both sides. Verify each side independently before climbing because one lock can engage while the opposite side remains incomplete.
Is Hearing a Click Enough to Know the Ladder Is Locked?
No. A click is useful confirmation, but it should not be your only test. Check both locking sides, verify indicators, and press down on the rung.
What If the Ladder Shows Green on Only One Side?
Do not climb the ladder. Retract that section carefully and inspect both locking mechanisms for dirt, misalignment, sticking, or damage before trying again.
Should I Inspect RV Ladder Locking Pins Before Every Use?
Yes. A quick inspection before every climb helps catch contamination, corrosion, damage, or incomplete engagement that may have developed since the previous use.
Can Dirt Stop a Telescoping Ladder Pin From Locking?
Yes. Sand, dust, mud, and other debris can interfere with moving locking components. Clean the ladder according to the manufacturer’s maintenance instructions.
Can I Use a Telescoping Ladder If One Lock Is Sticking?
No. A sticking lock should operate correctly before you climb. Clean it only as recommended and stop using the ladder if the problem continues.
Can Rusty Telescoping Ladder Pins Be Cleaned?
Minor surface contamination may sometimes be cleaned safely. Heavy corrosion around locking components deserves closer evaluation because it can affect reliable engagement and strength.
Can I Replace a Telescoping Ladder Locking Pin Myself?
Only follow a replacement procedure specifically approved by the ladder manufacturer. Avoid improvised pins, drilling, bending, or other modifications to safety-critical locking parts.
Should I Recheck the Pins After Moving the Ladder Around My RV?
Yes. Moving or repositioning the ladder can change its setup. Repeat your lock and stability checks before climbing again.
Can an RV Telescoping Ladder Be Used Partially Extended?
Many telescoping ladders support certain partial-extension configurations. However, the correct sequence varies by model, so always follow your ladder manufacturer’s exact extension instructions.

Jack Collins specializes in RV routes, trail access, and travel logistics. His how-to articles help RV and trailer owners plan smoother trips and avoid common mistakes. Every review focuses on performance, safety, and value.