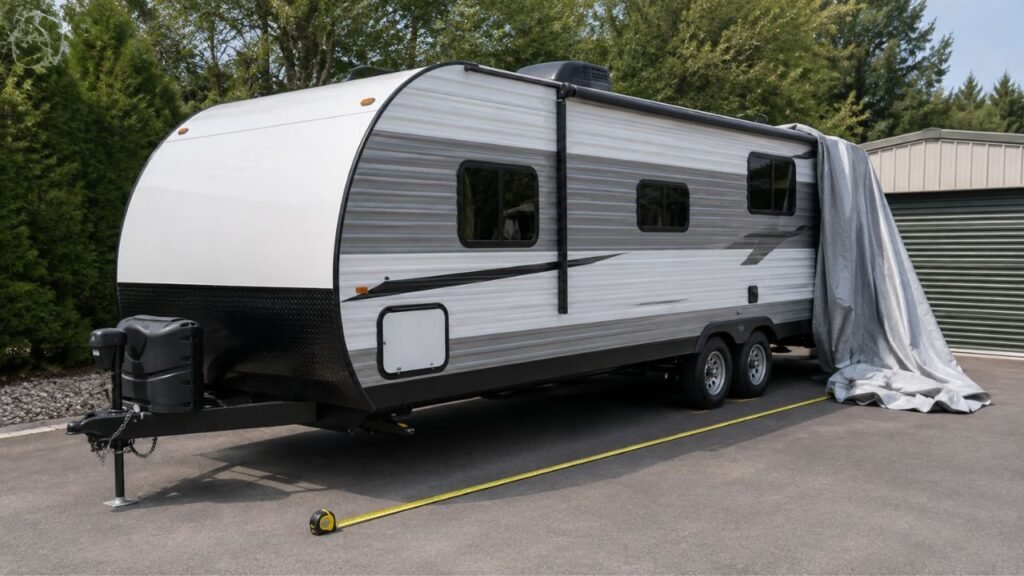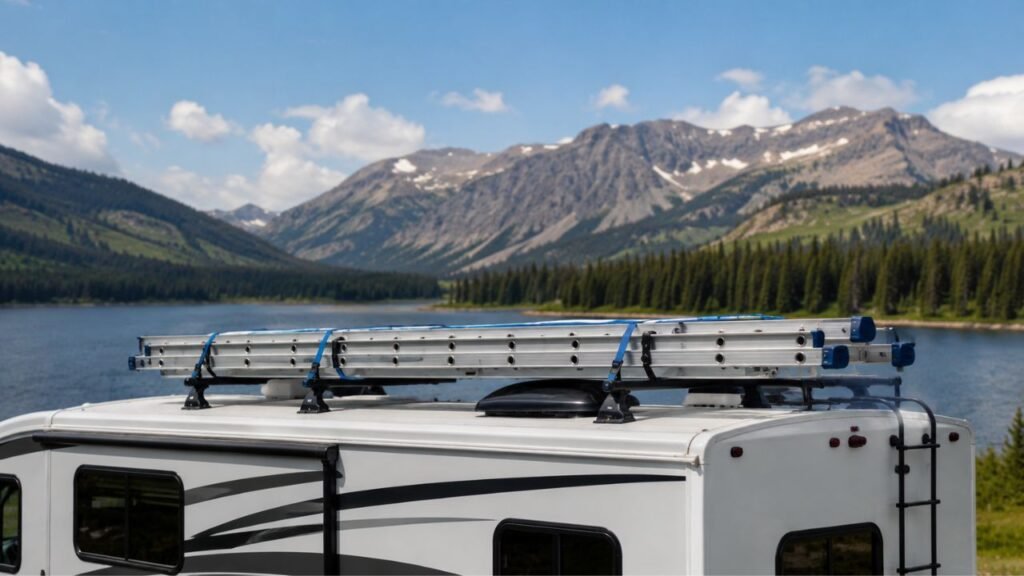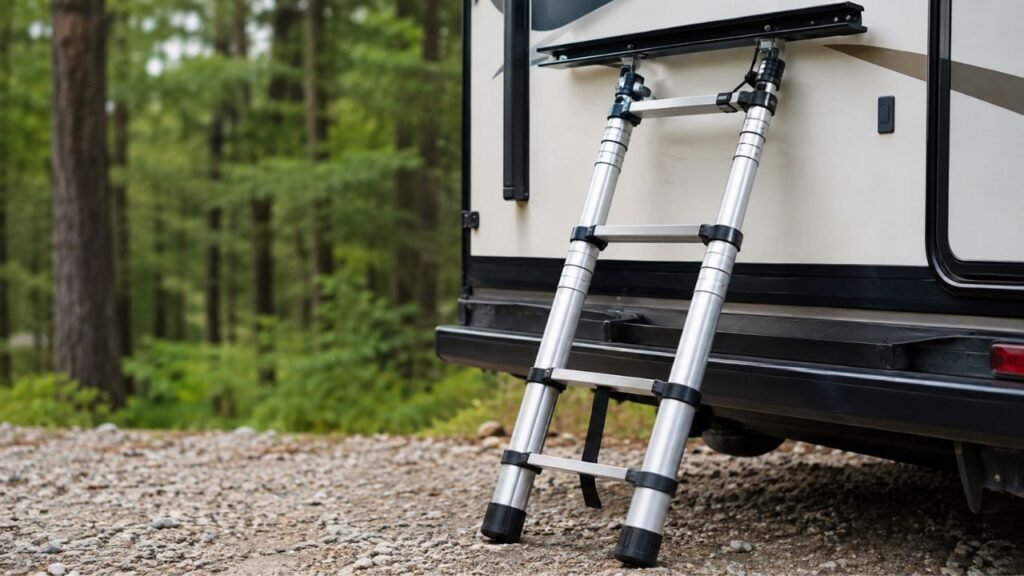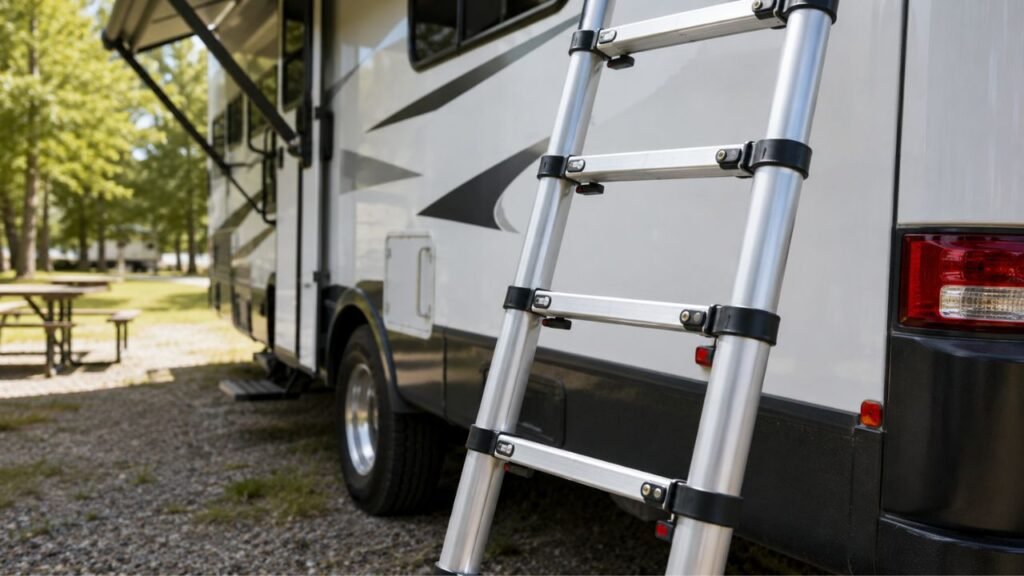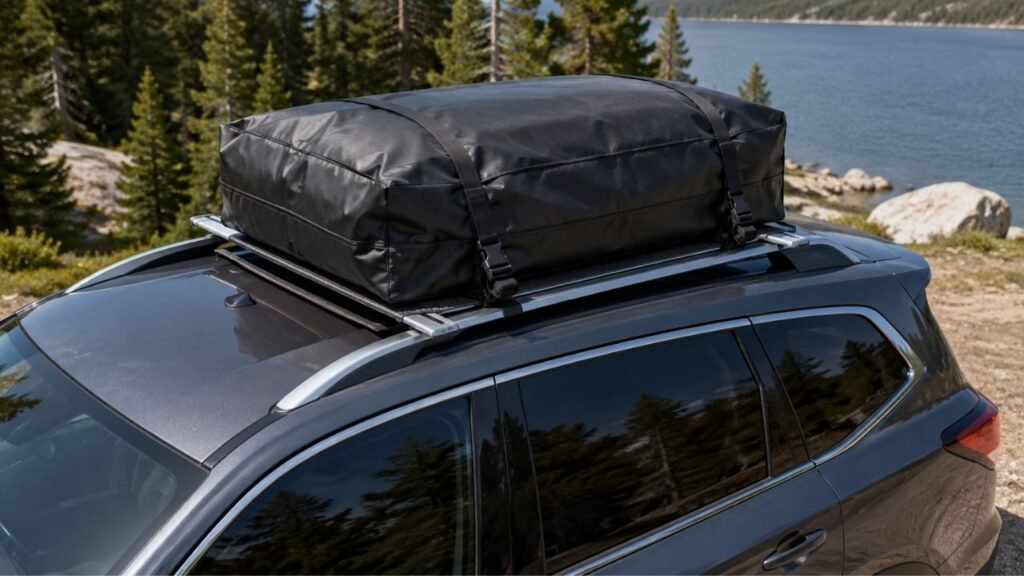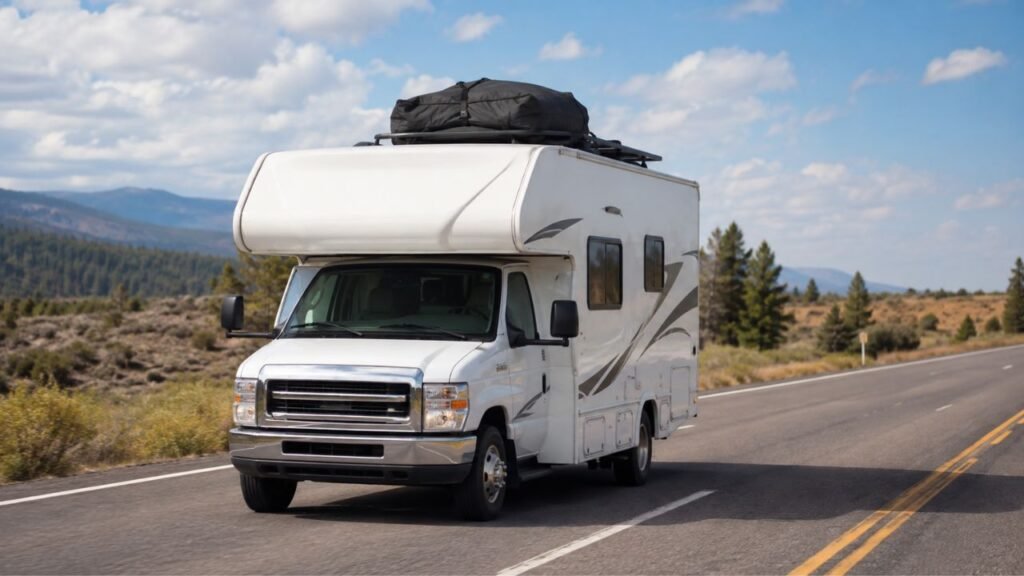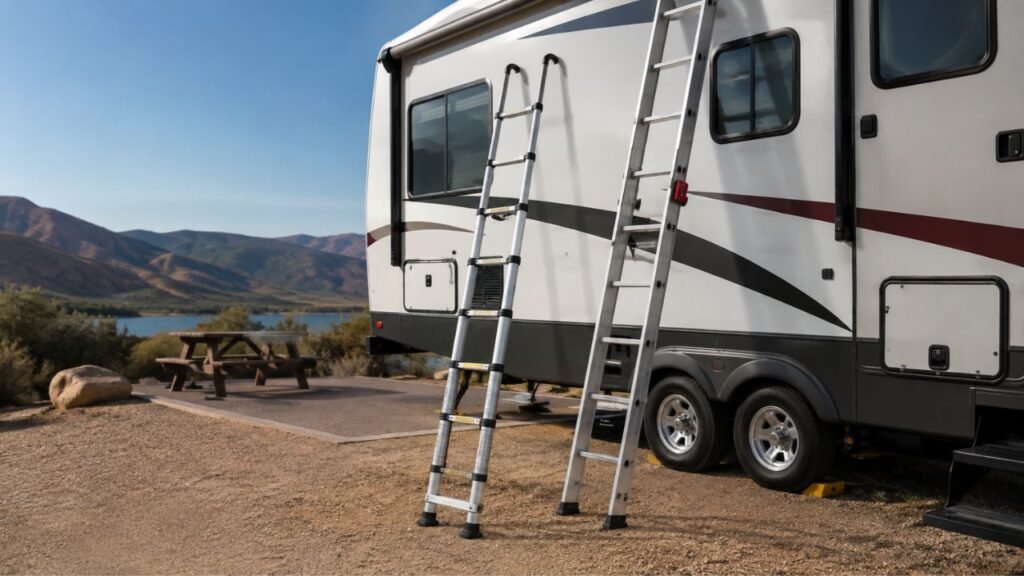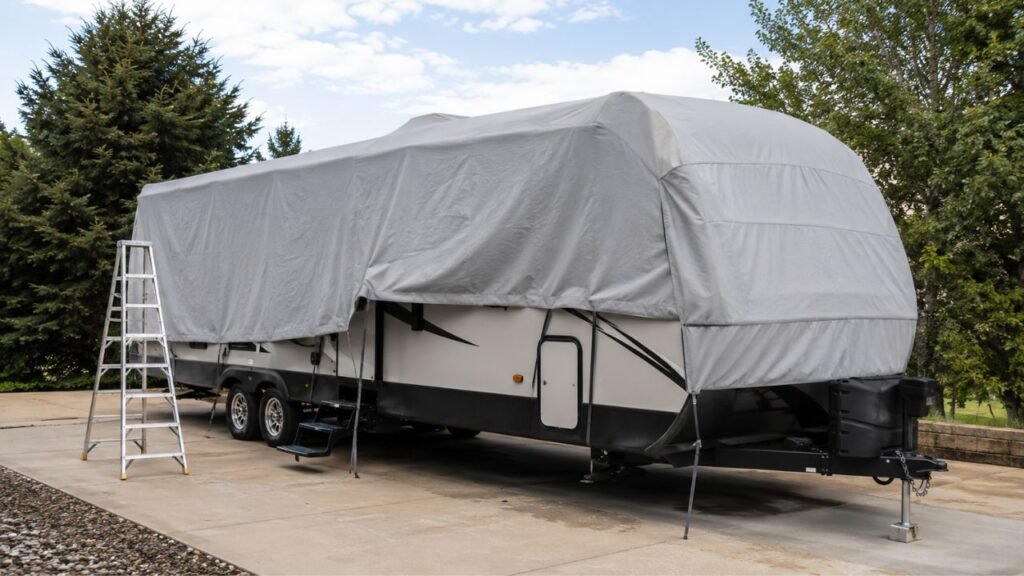
You can install an RV cover without walking on the roof by folding it into a narrow bundle, placing it near the roof center with a ladder, then slowly unrolling it along the RV. Once centered, use a telescoping pole and repositioned ladder to drop the sides and secure the straps from ground level.
The trick is preparing the cover correctly before lifting it. I’ll show you how to fold it, move it over rooftop equipment, work safely from a ladder, and secure it without climbing onto the roof.
Key Takeaways
- Fold the RV cover into a narrow bundle before lifting it.
- Identify the front and rear before you start rolling.
- Use a sturdy ladder on firm, level ground.
- Never stand on the ladder’s top cap or prohibited step.
- Move the ladder instead of leaning sideways to reach farther.
- Use an assist pole to guide fabric over rooftop equipment.
- Center the cover before securing the front or rear corners.
- Tighten belly straps snugly without stretching the cover excessively.
- Avoid installing a cover during rain or strong winds.
- Get a helper if the cover feels heavy or difficult to control.
Can You Really Install an RV Cover Without Getting on the Roof?
Yes, many RV covers can be installed without you walking across the roof. You will usually still need a ladder because you must reach the roof edge and guide the fabric into position.
The idea is simple. The cover goes onto the roof, but you stay on the ground or ladder.
Instead of carrying a loose cover onto the RV and unfolding it while walking backward, you prepare the cover on the ground. You then roll or fold it into a manageable bundle.
From there, you work around the RV using a ladder. A long pole can help you unfold areas that would otherwise require roof access.
This method is particularly useful if your RV roof is not designed for walking. It also makes sense if you simply prefer avoiding unnecessary roof work.
However, not every RV and cover combination works the same way. Very tall fifth wheels, large Class A motorhomes, or unusually heavy covers may require a helper or a different manufacturer-approved method.
Always give your cover’s instructions priority if they specify another installation process.
What Do You Need to Install an RV Cover From the Ground?
You do not need complicated equipment for this method. A few simple tools make the job much safer and easier.
| Item | Why You Need It | Practical Tip |
| Correct-size RV cover | Prevents excessive loose fabric | Confirm your RV measurements before installation |
| Sturdy step ladder | Lets you safely reach the roof edge | Use one tall enough without standing on the top |
| Telescoping pole | Helps guide and drop fabric | Choose a smooth end that cannot tear the cover |
| Soft rope | Helps pull some rolled-cover setups | Avoid rough rope that can damage fabric |
| Weighted toss bag | Helps route straps underneath | A soft bag is safer around the RV body |
| Foam padding | Protects the cover from sharp edges | Pool noodles and foam pieces can work well |
| Helper | Helps control heavy cover material | Especially useful for fifth wheels and Class A RVs |
You may not need every item listed above. The ladder, cover, padding, and assist pole are the most useful pieces for most installations.
Prepare the RV Before Putting the Cover On
Good preparation protects both your RV and the cover. It also prevents you from stopping halfway through because something was overlooked.
Park the RV on Firm, Level Ground
Start by parking on a stable and reasonably level surface.
Concrete or solid pavement is ideal. Firm packed gravel may also work if the ladder can sit securely.
Avoid placing the ladder on mud, loose rocks, wet grass, or uneven blocks. Never place boxes or scrap lumber underneath a ladder to gain extra height.
Set the parking brake where applicable. Chock the wheels if necessary for your RV type.
You also want enough open space around the entire RV. You will need to move the ladder several times during installation.
Pick a Dry, Calm Day
Wind can turn a large RV cover into a giant sail.
Even moderate wind can pull the fabric away from you. It can also throw you off balance while working from a ladder.
Choose a calm, dry day whenever possible.
Avoid installing the cover during:
- Strong wind
- Rain
- Snow
- Ice
- Thunderstorms
- Very slippery conditions
If the wind suddenly increases during installation, stop and secure the loose fabric.
Wash and Completely Dry the RV
A cover should go over a reasonably clean RV.
Dirt, sand, and small debris can become trapped underneath the fabric. Movement caused by wind may then rub that debris against painted or finished surfaces.
Wash the exterior if it is heavily dirty.
More importantly, allow the RV to dry before covering it. You do not want to intentionally trap unnecessary moisture underneath the cover.
Retract or Secure Exterior Accessories
Walk around the RV and check anything that sticks outward.
Retract the awning completely. Close roof vents unless your cover instructions say otherwise.
Check:
- Entry steps
- Awning arms
- Mirrors
- Antennas
- Exterior ladders
- Roof vents
- Satellite equipment
- Spare tire mounts
- Bike racks
- Roof-mounted accessories
Remove detachable items if the cover manufacturer recommends doing so.
Pad Every Sharp or Abrasive Edge
Sharp edges are one of the easiest ways to damage an RV cover.
Look closely at anything that could rub against fabric during wind.
Common trouble spots include:
- Rain-gutter spouts
- Ladder corners
- Awning hardware
- Bumper edges
- Roof-rack corners
- Antenna bases
- Solar-panel mounting hardware
- Sharp trim pieces
You can use soft foam, purpose-made gutter protectors, or cut pieces of pool noodle.
Secure the padding so it cannot fall away underneath the cover.
How to Fold an RV Cover for a No-Roof Installation
The folding stage is what makes this method manageable. Your goal is turning a large loose cover into a narrow bundle that can travel along the center of the RV roof.
Find the Front and Rear Before Folding
Lay the cover completely flat on clean, dry ground.
Find the label identifying the front.
Do not assume every cover looks obvious when unfolded. Once it is rolled tightly, the orientation becomes much harder to recognize.
Also locate:
- Driver side
- Passenger side
- Entry-door zipper
- Front tension panel
- Rear tension panel
Take a minute to understand how everything will hang once installed.
That minute can save you from completely unrolling a backward cover later.
Fold Both Side Panels Toward the Roof Center
Start with one long side of the cover.
Fold the side section inward toward the middle.
Do the same thing from the other side.
You are trying to create a long strip rather than a wide sheet.
You may need several folds depending on the cover’s width. There is no universal number because RV covers vary considerably.
Keep both sides folded evenly whenever possible.
Fold or Roll It Into a Manageable Bundle
Once the width has been reduced, begin rolling from one end.
Think about rolling a sleeping bag.
Keep the roll reasonably tight, but do not crush buckles or zippers inside it.
The final bundle should be small enough to control safely.
If you cannot comfortably handle the bundle from a ladder, stop there. Use a helper rather than forcing the process.
Keep the front label oriented so you know which direction the cover must unroll.
Set Up the Optional Rope-and-Pole Method
A rope-and-pole setup can make the center-roof portion easier.
Place a smooth pole or sturdy stick across one end before rolling. Secure a rope to the pole if your method requires it.
Roll the cover around the pole.
Once the bundle reaches the roof, the rope can help pull it toward the opposite end.
This method is optional.
If your cover unrolls easily with a telescoping pole and ladder access, you may not need the rope setup.
How to Install an RV Cover Without Walking on the Roof
Once the cover is folded correctly, the installation becomes much easier. Work slowly and keep repositioning the ladder instead of stretching beyond a safe reach.
Step 1: Position the Rolled Cover at the Correct End
Bring the rolled cover to the front or rear of your RV.
Which end you start from depends on how you folded it.
Check the front label again before lifting anything.
The front portion of the cover must eventually reach the front of the RV.
This sounds obvious, but it is an easy mistake to make.
Step 2: Set the Ladder on Stable Ground
Position the ladder near the RV’s front or rear corner.
Make sure all ladder feet are firmly supported.
Fully open and lock a step ladder before climbing.
You should be able to reach the roof edge comfortably without standing on the highest prohibited step.
If the ladder is too short, use a taller ladder. Do not stretch your body sideways to compensate.
Step 3: Get the Rolled Cover to Roof Level Safely
This part deserves extra care.
A large rolled RV cover can be bulky even when it is not especially heavy.
Avoid climbing while carrying something that prevents you from maintaining good balance.
If possible, have a helper hand the cover upward once you reach a safe working position.
Another option is lifting the bundle with a rope from a secure position.
If you cannot control the bundle comfortably, get help.
Avoid turning a no-roof method into a ladder accident.
Step 4: Place the Roll Along the Center of the Roof
Set the cover near the centerline of the roof.
Do not leave the entire bundle hanging near one roof edge.
The closer you start to the center, the easier it becomes to distribute the side fabric evenly later.
You may need to reposition the ladder once or twice to guide the bundle.
That is normal.
Move the ladder whenever needed instead of reaching too far.
Step 5: Pull or Unroll the Cover Toward the Opposite End
Now begin moving the cover along the roof center.
If you used a rope-and-pole setup, move to the opposite end and gently pull the rope.
The cover should slowly unroll along the roof.
Do not jerk the rope.
If the bundle stops moving, something may be caught underneath.
If you are using an assist pole instead, work in smaller sections.
Push or guide the roll forward, then reposition the ladder.
Continue until the cover reaches the opposite end.
Step 6: Guide the Cover Around Roof Accessories
Rooftop accessories are where many installations become frustrating.
Your cover may encounter:
- Roof air conditioners
- Vent covers
- Skylights
- Solar panels
- Antennas
- Satellite equipment
If the fabric catches, stop pulling.
Do not assume more force will solve the problem.
Move the ladder closer to the obstruction.
Use your telescoping pole to lift the cover slightly. Guide the fabric over the equipment instead of dragging it sharply across the edge.
Work slowly around solar-panel corners and mounting brackets.
If something feels stuck, inspect it before continuing.
A small snag can become a large tear very quickly.
Step 7: Release the Side Folds
Once the cover is stretched along the roof, begin opening the folded side sections.
Start at one end.
Use the ladder or telescoping pole to pull one folded section toward the roof edge.
Allow it to drop gently down the side.
Move along the RV and repeat.
Then work on the opposite side.
Do not try to drop the entire side panel from one ladder position.
Working in sections gives you much better control.
Step 8: Pull the Front and Rear Sections Into Position
Now pull the cover downward around the front and rear.
Do this gradually.
Do not force one end tightly while the other side remains bunched up.
Walk around the RV and adjust small sections at a time.
Make sure the cover’s front corresponds with the RV’s front.
Check whether:
- Side panels hang evenly
- The rear reaches correctly
- Entry zippers line up
- The cover is twisted
- Roof fabric looks reasonably centered
You want the overall position correct before fastening anything.
Step 9: Center the Entire Cover Before Fastening Anything
This step is easy to skip.
Do not immediately secure one corner just because it reaches the bumper.
Walk around the RV first.
Look at how far the cover hangs down on both sides.
One side should not be noticeably lower than the other.
Check the roof section from both ends.
If adjustment is needed, make it now.
Once straps and corners are secured, repositioning becomes much harder.
Step 10: Secure the Front and Rear Corners
Most RV covers use elasticized corners, adjustable panels, or tension straps.
Fit the front section carefully.
Then move to the rear.
Do not stretch the material aggressively just to make it reach.
If a correctly positioned cover barely reaches the corners, double-check the cover size and orientation.
Use the tightening system your cover manufacturer provides.
Step 11: Route the Underbelly Straps
Most RV covers include straps that connect underneath the vehicle.
A weighted toss bag makes this process easier.
Attach one loose strap end to the soft toss bag.
Gently toss or slide it underneath the RV.
Retrieve the bag from the opposite side.
Disconnect the bag and attach the strap to its buckle.
Repeat this process for the remaining straps.
Make sure straps do not wrap around:
- Exhaust components
- Suspension parts
- Wiring
- Plumbing
- Stabilizers
- Sharp frame edges
Check underneath before tightening anything.
Step 12: Tighten the Straps Gradually
Your goal is a snug cover, not a stretched cover.
Tighten each strap a little at a time.
Move between straps rather than fully tightening one immediately.
This helps distribute tension evenly.
Remove large areas of loose fabric that could flap in wind.
However, do not pull until seams, buckles, or fabric appear stressed.
A little controlled movement is better than excessive tension.
Step 13: Perform a Final Walkaround
Take one complete walk around the RV.
Look closely rather than assuming the job is finished.
Check:
- Front alignment
- Rear alignment
- Side coverage
- Entry zipper location
- Exposed sharp corners
- Twisted straps
- Loose buckles
- Hanging straps
- Fabric caught around roof accessories
- Areas likely to flap heavily
Make any final adjustments now.
Your cover should look evenly positioned rather than stretched toward one corner.
Ladder Safety Rules You Should Follow
Avoiding the RV roof only helps if the ladder work remains safe. Follow these basic rules every time you move around the vehicle.
- Use a ladder rated for your weight and the job.
- Inspect the ladder before climbing.
- Place it on firm and level ground.
- Fully open and lock a step ladder.
- Never stand on the ladder’s top cap.
- Follow the ladder’s highest standing-level warning.
- Face the ladder while climbing.
- Maintain three points of contact when possible.
- Keep your body between the ladder rails.
- Never lean far sideways to reach the cover.
- Climb down and move the ladder instead.
- Do not move the ladder while someone is standing on it.
- Keep metal ladders away from electrical hazards.
- Do not climb while carrying an uncontrollable cover bundle.
- Stop working if rain or strong wind begins.
That last point matters more than people realize.
A loose RV cover can suddenly pull hard when wind catches it.
How Do You Get an RV Cover Over the Air Conditioner and Roof Vents?
The safest approach is to guide the cover over rooftop equipment rather than dragging it forcefully. When the fabric reaches an air conditioner or vent, stop pulling and move your ladder closer. Use a smooth telescoping pole to lift the material slightly and encourage it over the obstruction.
Pay extra attention around solar panels, skylights, antennas, and mounting brackets. Corners and hardware can catch fabric surprisingly easily. If you feel resistance, investigate before pulling harder.
A little foam padding around likely abrasion points can also help. Just make sure the padding is secure before covering the RV.
Can You Put an RV Cover On by Yourself?
Yes, one person can sometimes cover a smaller RV without walking on the roof. However, I would not make solo installation your goal if the cover feels bulky, the RV is very tall, or the ladder setup feels uncomfortable.
A second person is useful because one person can stabilize or reposition equipment while the other manages the fabric.
Your decision should depend on:
- Cover weight
- RV height
- RV length
- Ladder height
- Ground conditions
- Wind
- Rooftop equipment
- Your ability to control the bundle
A compact travel trailer is usually easier to handle alone.
A tall fifth wheel or Class A motorhome can be a very different job.
If you cannot safely lift the cover while maintaining proper ladder control, get another person involved.
How Tight Should an RV Cover Be?
An RV cover should fit snugly enough to reduce excessive flapping, but it should not be stretched drum-tight. Tighten the provided straps gradually until large loose sections are controlled without stressing seams, buckles, or corner panels.
Overtightening does not necessarily make the cover safer.
It may increase pressure where the fabric contacts roof edges and exterior hardware.
Strong tension can also make abrasion worse when the cover moves.
Use the adjustment system supplied with your cover rather than adding random ropes over the roof.
If your manufacturer provides specific strap-tension guidance, follow it.
Common Mistakes When Installing an RV Cover Without Roof Access
Most problems happen because people rush the folding stage or try to reach too far from the ladder. Avoid these common mistakes.
- Installing the cover during strong wind
- Using a ladder that is too short
- Standing on the ladder’s top cap
- Leaning sideways instead of moving the ladder
- Carrying a bulky cover while climbing unsafely
- Forgetting to identify the front before rolling
- Leaving rain gutters and sharp corners unprotected
- Dragging fabric hard across rooftop accessories
- Securing corners before centering the cover
- Pulling one side much tighter than the other
- Overtightening belly straps
- Leaving loose straps hanging in the wind
- Adding unsupported ropes across the roof
- Ignoring a cover that has shifted after installation
Taking another ten minutes during installation can prevent hours of frustration later.
Check the Cover Again After Installation
Your job is not completely finished once every buckle is connected.
Fabric can settle after installation. Wind can also change strap tension.
Check the cover again after it has been installed for a short period.
Look for:
- Loose belly straps
- Areas rubbing against sharp hardware
- Cover movement
- Shifted corners
- Buckles touching painted surfaces
- Fabric bunching around accessories
During long-term storage, inspect the cover periodically.
A monthly walkaround is a simple habit.
You may catch a loose strap before it damages the cover during the next windy day.
How Do You Remove an RV Cover Without Walking on the Roof?
Removing the cover is usually easier than installing it. The main goal is keeping the material controlled so it does not snag on rooftop equipment.
- Choose a calm and dry day.
- Disconnect every belly and tension strap.
- Release the front and rear corners.
- Open any zippered panels.
- Use a ladder to lift the side fabric upward.
- Move along the RV in small sections.
- Use a telescoping pole where extra reach is needed.
- Gather the cover toward one end.
- Carefully lower the bundled fabric to the ground.
- Clean and dry the cover before storing it.
Avoid pulling the entire cover quickly from one end.
That can drag material across air conditioners, vents, solar panels, and antennas.
Also avoid walking on top of a covered roof. Rooftop equipment can become difficult to see beneath the fabric.
When Should You Stop and Get Help?
There is no prize for finishing an RV-cover installation alone. Stop when the situation begins requiring unsafe shortcuts.
- The wind starts pulling the cover away.
- Your ladder does not reach high enough.
- You need to stand on the prohibited top step.
- You cannot control the cover bundle.
- The ground will not support the ladder securely.
- You have to lean far beyond the ladder rails.
- The fabric becomes firmly snagged.
- You cannot see what the cover is caught on.
- Overhead electrical hazards are nearby.
- Your cover instructions require another installation method.
A helper can turn an awkward job into a much more controlled one.
That is especially true with large fifth wheels and motorhomes.
Final Words
Installing an RV cover without walking on the roof is mainly about how you prepare and control the fabric. Fold it into a manageable bundle, move it along the roof center, then drop each side gradually from a repositioned ladder.
The important part is not replacing roof risk with ladder risk. Use the correct ladder, work on level ground, avoid wind, and move the ladder whenever your reach becomes uncomfortable.
Once the cover is centered, secure it gradually and inspect the fit. A careful installation protects both your RV and the cover during storage.
Related FAQs
What Is the Easiest Way to Put an RV Cover On?
The easiest method is to fold the cover into a narrow bundle on the ground, position it along the roof center with a ladder, then gradually unroll and lower each side. An assist pole and a second person can make the process considerably easier.
What Size Ladder Do I Need to Install an RV Cover?
Use a ladder tall enough to let you comfortably reach the RV roof edge while staying below the ladder’s highest permitted standing level. The exact height depends on your RV, so avoid choosing a ladder based only on a general RV type.
Can I Use a Broom Handle to Put an RV Cover On?
Yes, a smooth broom handle can help guide the cover if it gives you enough reach. Make sure the end has no sharp edges or metal pieces that could puncture or snag the fabric.
Can an RV Cover Go Over the Roof Air Conditioner?
Most properly sized RV covers are designed to fit over common rooftop equipment such as air conditioners. However, you should still check your cover’s instructions and protect sharp edges or hardware that may rub against the fabric.
How Do You Get RV Cover Straps Under the RV?
Attach the loose strap to a soft weighted toss bag, then gently pass it underneath the RV. Retrieve it from the opposite side, connect the buckle, and tighten the strap after checking that it is clear of exhaust, wiring, suspension, and sharp frame components.
Should an RV Cover Be Tight or Loose?
An RV cover should be snug without being stretched excessively. Tighten the straps enough to reduce large loose areas and wind flapping, but stop before seams, corners, or buckles appear heavily stressed.
Can You Install an RV Cover in the Wind?
You should avoid installing an RV cover in windy conditions. The large fabric area can catch sudden gusts, making the cover difficult to control and increasing the risk of losing your balance while working from a ladder.
Should You Cover an RV With Solar Panels on the Roof?
You can often cover an RV with rooftop solar panels if the cover and solar installation are compatible. Protect sharp panel corners or mounting hardware and check the cover manufacturer’s instructions before long-term storage.
Can One Person Put a Cover on a Travel Trailer?
One person can often cover a smaller travel trailer if the cover is manageable and ladder access is safe. For larger trailers, tall RVs, or heavy covers, having a second person gives you much better control during lifting and positioning.

Jack Collins specializes in RV routes, trail access, and travel logistics. His how-to articles help RV and trailer owners plan smoother trips and avoid common mistakes. Every review focuses on performance, safety, and value.