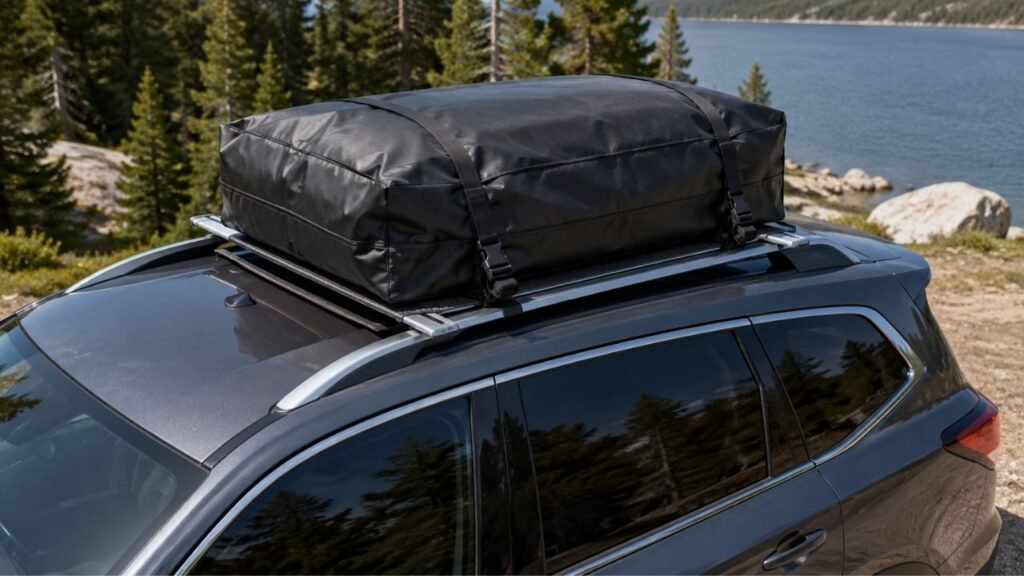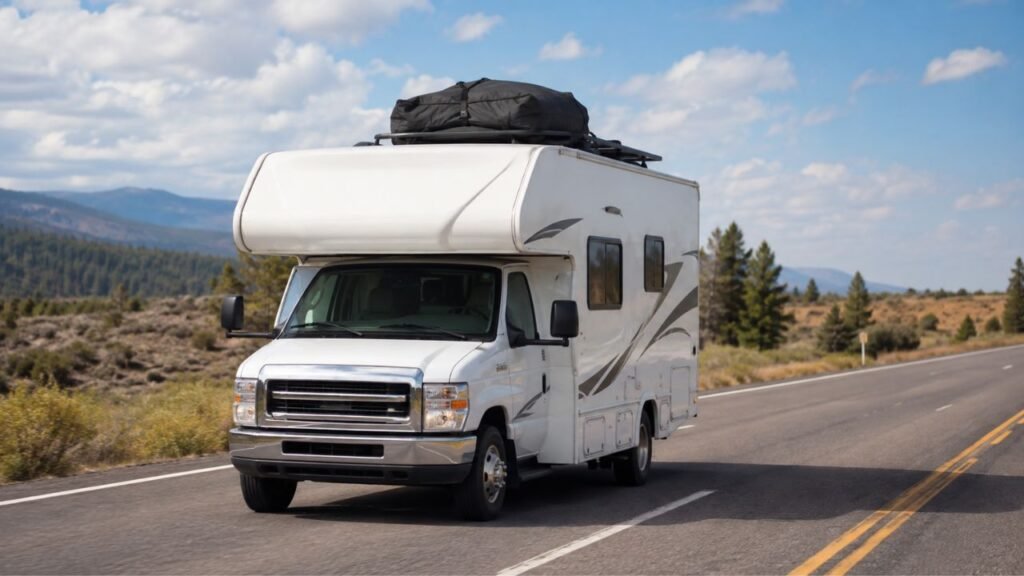
Your RV rooftop cargo bag usually shifts because the straps are loose, wind is getting around or beneath the bag, the load is uneven, or the mounting surface does not provide enough grip. Cargo moving inside the bag or a loose roof rack can also make the entire setup slide while driving.
I’ll walk you through the most common causes, how to identify what is actually moving, and the safest ways to keep your rooftop cargo bag stable during RV travel.
Key Takeaways
- Loose or unevenly tightened straps are a common cause of cargo bag movement.
- Highway airflow can lift, push, or distort a soft rooftop bag.
- An underfilled bag can flap and pull against its mounting straps.
- Uneven cargo distribution can make the bag creep toward one side.
- A compatible anti-slip mat can reduce movement and protect the mounting surface.
- Loose crossbars or roof-rack hardware can make the bag appear unsecured.
- Always confirm that your cargo bag and roof-rack setup are approved for your RV.
- Recheck strap tension after the first few miles and during longer trips.
Why Does an RV Rooftop Cargo Bag Shift While Driving?
A rooftop cargo bag is exposed to wind, vibration, braking forces, turns, and constant movement from the road. If any part of the mounting system allows even a little movement, those forces can gradually push the bag out of position.
The Mounting Straps Have Developed Slack
A strap can feel extremely tight when you first leave home and still loosen later.
Soft items inside the cargo bag compress as you drive. Blankets, clothing, sleeping bags, and similar gear settle lower. Once that happens, the bag becomes slightly smaller and the straps can lose tension.
Road vibration can also work small amounts of slack through adjustable buckles.
Uneven tightening creates another problem. If one side is tighter than the other, the bag may slowly pull toward the tighter attachment point.
Check every strap rather than tightening only the one that appears loose.
Wind Is Pushing or Lifting the Bag
An RV puts rooftop cargo fairly high above the road, where airflow can be strong.
At highway speeds, air pushes against the front and sides of the bag. Crosswinds can add sideways pressure, while turbulence from trucks or changing terrain can hit the bag from different directions.
If air gets underneath part of the bag, that section may lift slightly.
Repeated lifting and dropping can eventually loosen straps or move the bag across the mounting surface.
This becomes especially noticeable when the bag is tall, loosely packed, or poorly positioned.
The Bag Is Too Empty or Poorly Compressed
A soft rooftop bag generally behaves better when its shape is controlled.
If you place only a few items inside a large bag, empty fabric can fold, balloon, or flap in the airflow. The bag may constantly change shape while you drive.
That movement pulls against the straps.
Instead of simply tightening the bag harder, repack it so the contents support its shape. Use soft items to fill large spaces and use the bag’s compression straps when provided.
You do not need to stuff the carrier beyond its capacity. You simply want to reduce unnecessary loose fabric.
The Cargo Inside Is Moving
Sometimes the bag itself is properly secured while everything inside is sliding around.
During braking, loose cargo moves toward the front. Acceleration pushes it toward the rear, while cornering moves it from side to side.
When a heavy item shifts inside a soft carrier, it can pull the entire bag with it.
You may notice the bag becoming lopsided even though the straps still seem tight.
That is usually a packing problem rather than a mounting problem.
The Weight Is Unevenly Distributed
Putting most of the weight on one side makes the cargo bag harder to stabilize.
Imagine placing several heavy tools on the passenger side and lightweight bedding on the driver’s side. Every turn and bump gives the heavier side more influence over the bag.
Try to balance the load from left to right and front to back.
Keep heavier suitable items low and close to the center rather than stacking them high against one side.
A balanced bag is much easier for the straps to control.
The Surface Under the Bag Does Not Provide Enough Grip
Smooth mounting surfaces can allow a soft bag to creep even when the straps seem properly tightened.
Depending on your RV, the mounting area may include fiberglass, painted surfaces, a metal cargo platform, crossbars, or a roof basket.
A compatible non-slip protective mat can increase friction between the bag and the supporting surface.
It may also help reduce rubbing and abrasion.
However, I would not place a random household rubber mat directly on an RV roof without checking compatibility. Some roofing materials can react poorly with certain products.
Use a pad intended for your cargo system and suitable for the RV surface underneath it.
The Cargo Bag Is Mounted in the Wrong Direction
Some rooftop bags have a specific front and rear orientation.
The zipper location, aerodynamic shape, strap layout, and closed edges may all be designed around a particular travel direction.
Turning the bag around can expose folds or zipper flaps directly to incoming air.
That can increase flapping and pressure on the mounting system.
Look for directional markings or installation diagrams before securing the bag.
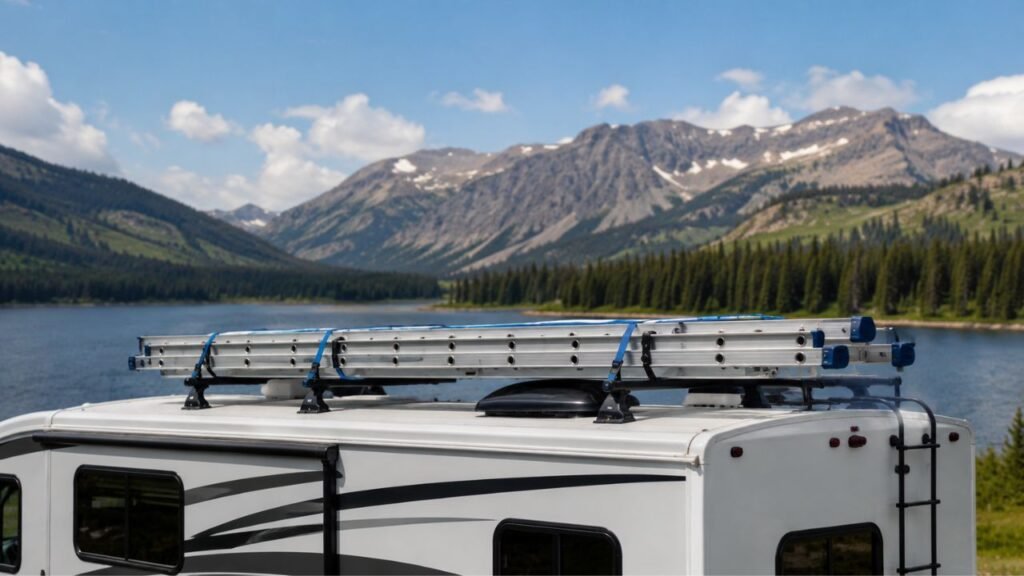
The Roof Rack, Crossbars, or Basket Are Moving
Sometimes you can tighten the cargo bag perfectly and still have a shifting problem.
The rack underneath may be moving.
Grab each crossbar and try to move it before loading the bag. Check rack feet, basket hardware, mounting brackets, and fasteners.
If the rack moves independently from the RV, fix that problem first.
A securely strapped bag cannot stay stable when its entire mounting platform is sliding.
The Straps or Buckles Are Worn
Straps spend their lives exposed to sunlight, heat, rain, road dirt, and constant tension.
Over time, webbing can fray or become stiff. Buckles may crack or stop holding tension properly.
A worn adjustment buckle can allow a strap to slowly feed through while you drive.
Inspect the complete length of each strap.
Replace damaged parts rather than tying knots around weak sections or trying to compensate by pulling harder.
Is the Bag Moving, or Is the Cargo Moving Inside It?
Before changing the mounting system, figure out which part is actually shifting. The symptoms you notice can point you toward the right fix much faster.
| What You Notice | Most Likely Cause | First Thing to Check | What to Do |
| Entire bag slides backward | Loose straps or poor grip | Front and rear attachments | Reposition and retighten |
| Bag creeps sideways | Uneven tension or load | Side straps and packing | Balance load and tighten evenly |
| Bag stays in place but becomes lopsided | Cargo moving inside | Internal packing | Repack and fill gaps |
| Front of bag balloons | Too much empty fabric | Bag shape and orientation | Repack and compress |
| Strap ends flap loudly | Loose excess webbing | Strap tails | Roll and secure them |
| Bag moves with the crossbars | Loose rack hardware | Rack and mounting feet | Repair or tighten rack first |
| Straps loosen repeatedly | Settling cargo or worn buckle | Webbing and adjusters | Repack, retighten, or replace |
| Bag lifts slightly at speed | Airflow getting underneath | Position and strap routing | Reposition and secure evenly |
How Do I Stop My RV Rooftop Cargo Bag From Shifting?
The best fix is not simply pulling harder on the straps. Work through the whole setup from the RV roof upward so you know every component is properly supported and secured.
Step 1: Confirm the Cargo Bag Is Approved for Your RV
Start here before making any changes.
Not every rooftop cargo bag designed for a car or SUV is approved for use on a motorhome, travel trailer, fifth wheel, or other RV.
Check the cargo bag instructions for:
- Approved vehicle types
- Required roof-rack configuration
- Attachment methods
- Weight limits
- Speed recommendations
- RV or trailer restrictions
If the manufacturer specifically excludes RV use, choose another cargo system.
A bag that physically fits your roof is not automatically suitable for it.
Step 2: Check the RV Roof and Rack Load Limits
Next, confirm how much weight the RV and mounting system can safely carry.
Your total rooftop cargo load may include:
- The cargo bag
- Everything inside it
- Crossbars
- Roof rack
- Cargo basket
- Mounting hardware
- Other accessories using the same support system
Do not confuse a roof being walkable for maintenance with that roof being rated for moving cargo.
Dynamic loads are different because braking, bumps, turns, and wind place additional forces on the system.
Your owner’s manual and rack instructions should be the final authority.
Step 3: Inspect the Roof Rack Before Touching the Bag
Check the foundation first.
With the RV parked, inspect:
- Crossbars
- Side rails
- Rack feet
- Basket brackets
- Fasteners
- Attachment points
- Visible cracks or bending
Try moving each component by hand.
Nothing should slide, rock, or lift unexpectedly.
If the rack is loose, correct that issue before putting the cargo bag back on top.
Step 4: Clean and Dry the Mounting Area
Dirt can work like tiny ball bearings underneath a soft cargo bag.
Dust, sand, moisture, leaves, and road debris can also scratch the bag or mounting surface.
Clean the area and let it dry before installation.
This gives your protective mat and cargo bag a better surface to grip.
Step 5: Use the Correct Protective Anti-Slip Layer
A suitable non-slip mat can make a noticeable difference.
The mat helps by:
- Increasing friction
- Reducing small sliding movements
- Limiting abrasion
- Damping some vibration
Make sure the mat sits flat beneath the bag.
It should not bunch up or extend into areas where it could interfere with straps or rooftop equipment.
Most importantly, confirm the material is safe for the RV surface underneath it.
Step 6: Center and Orient the Bag Correctly
Place the carrier according to its installation instructions.
Whenever the system allows it, keep the bag centered rather than hanging heavily toward one edge.
Make sure it remains clear of:
- Roof vents
- Air conditioners
- Solar panels
- Antennas
- Skylights
- Exhaust outlets
- Other rooftop accessories
Follow any front-facing orientation specified by the bag manufacturer.
Correct positioning helps the straps pull in balanced directions.
Step 7: Repack the Cargo for Better Balance
Now look inside the bag.
Place heavier suitable gear lower in the carrier and closer to the center.
Try to distribute weight evenly between both sides.
Avoid placing one large, heavy object at the very front or rear unless your cargo system specifically allows it.
Use soft items such as blankets or jackets to fill spaces between larger pieces of luggage.
You are trying to prevent cargo from building momentum before it hits the side of the bag.
Step 8: Remove Excess Empty Space From the Bag
A large half-empty cargo bag can be much harder to control than a properly packed one.
If the fabric is sagging everywhere, rearrange the contents so they support the bag’s shape.
Fill unused areas with lightweight soft gear when practical.
Then use any built-in compression straps.
The goal is a compact shape with minimal loose fabric exposed to the wind.
Step 9: Route Every Strap Correctly
Follow the manufacturer’s strap-routing diagram instead of improvising.
Approved attachment points may include:
- Crossbars
- Side rails
- Cargo basket framing
- Dedicated rack anchor points
Do not assume any object on the RV roof can serve as an anchor.
Roof vents, air-conditioner housings, solar mounting hardware, plumbing components, and other rooftop equipment are generally not substitutes for cargo-rated attachment points.
Step 10: Tighten the Straps Evenly
Work around the bag rather than tightening one strap completely at a time.
Pull each side gradually until the bag feels uniformly secured.
The straps should be snug enough to remove slack and control movement.
They should not be tightened so aggressively that you deform the rack, crush luggage, damage seams, or stress unsuitable mounting points.
Balanced tension matters more than brute force.
Step 11: Secure Every Loose Strap End
Long strap tails should not whip around in the wind.
Roll or tie off excess webbing using the method recommended for your carrier.
Loose strap ends are annoying, but they can also slap the RV roof and repeatedly tug against buckles.
Keeping them controlled makes the installation quieter and easier to inspect.
Step 12: Perform a Firm Push Test
Before driving, push the cargo bag from several directions.
Try moving it:
- Forward
- Backward
- Left
- Right
You may see a little flexibility in a soft bag, but the entire carrier should not slide freely across the mounting surface.
Then push on the rack itself.
This helps you determine whether any movement comes from the bag or the supporting structure.
Step 13: Recheck Everything After the First Few Miles
Do not assume your first adjustment will remain perfect.
Soft cargo settles after the RV starts moving.
Pull over at a safe location after the first portion of your trip and check:
- Strap tension
- Buckle position
- Bag alignment
- Rack hardware
- Cargo shape
- Loose webbing
Repeat these checks during longer travel days.
It only takes a few minutes and can prevent a small amount of movement from becoming a major problem.
Should I Put an RV Cargo Bag Directly on the Roof?
You should only place a cargo bag directly on an RV roof when both the RV manufacturer and cargo bag manufacturer allow that type of installation.
RV roofs vary considerably. Some use fiberglass, while others have membrane roofing or other layered materials. A roof may support a person during maintenance yet still not be designed for concentrated moving cargo.
Direct placement also increases the importance of surface protection. A bag can rub against the roof for hours while the RV vibrates.
If your carrier requires crossbars, side rails, or a basket, do not bypass that requirement.
When in doubt, a properly rated structural rack system gives you better-defined attachment points than improvising directly on the roof.
Is a Roof Basket or Crossbar System Better for Preventing Movement?
Both systems can work well when they are correctly rated and installed. The better choice depends on your RV, the cargo bag, and the mounting method required by the manufacturers.
Crossbars
Crossbars provide fixed structural attachment points across the roof.
They can help control forward and backward movement because straps have something solid to wrap around.
The spacing needs to match the carrier’s mounting instructions.
Loose or widely spaced crossbars can still create problems, so check the rack manufacturer’s requirements.
Roof Basket
A roof basket gives the cargo bag a defined platform with raised boundaries.
That can make side-to-side movement easier to control.
Baskets also provide several locations for mounting straps, which may help distribute tension more evenly.
The basket itself still needs to be correctly secured to the RV.
Direct Roof Placement
Some cargo bags are designed for direct roof use on approved vehicles.
However, this setup depends heavily on the roof material, vehicle design, available attachment points, and carrier instructions.
For an RV, I would never assume direct roof placement is acceptable simply because the bag advertises universal compatibility.
Use whichever mounting method both manufacturers approve.
How Should I Pack the Bag So the Load Does Not Shift?
Packing is just as important as strap tension. A properly packed bag creates less movement for the mounting system to control.
- Place heavier suitable items low in the bag.
- Keep heavier cargo close to the center.
- Balance weight between the left and right sides.
- Avoid concentrating everything at the front or rear.
- Fill large gaps with lightweight soft items.
- Stop round objects from rolling.
- Keep hard edges away from the bag fabric.
- Avoid creating one tall stack of heavy cargo.
- Use compression straps when provided.
- Stay within the bag, rack, roof, and RV weight limits.
I also recommend checking the bag after loading it. If one side looks noticeably higher or heavier, redistribute the cargo before you tighten the straps.
How Tight Should Rooftop Cargo Bag Straps Be?
The straps should be firmly taut with obvious slack removed, but they should not be tightened beyond the carrier manufacturer’s instructions.
When you push the loaded bag, it should feel attached to the rack rather than floating independently above it.
More tension is not always better.
Overtightening can put unnecessary stress on attachment loops, seams, buckles, roof-rack components, or the surface underneath the carrier.
If the bag continues moving even when the straps are properly tensioned, look for another problem such as poor packing, an unsuitable mounting surface, or loose rack hardware.
Can Highway Speed Make a Rooftop Cargo Bag Shift?
Yes. Higher speed increases the amount of airflow acting on the cargo bag.
A large soft carrier behaves differently in the wind than an empty RV roof. Its shape can create extra drag, particularly when it is underfilled or poorly secured.
Strong crosswinds can increase side loading as well.
Passing large trucks may briefly expose your RV to turbulence followed by a sudden change in wind pressure.
Rather than relying on one universal maximum speed, follow the limit or recommendation provided by your cargo carrier manufacturer.
Slow down when crosswinds become strong or the carrier starts behaving differently.
If you notice new flapping, banging, or movement, stop somewhere safe and inspect the system.
Can Sudden Braking or Turning Move the Bag?
Yes, especially when cargo inside the bag has room to move.
When you brake, unsecured contents continue moving forward relative to the RV.
During acceleration, the load tends to move backward.
A turn pushes loose cargo toward one side.
Rough roads add repeated vertical motion on top of those forces.
The mounting straps then have to control both the bag and the momentum created by the cargo inside it.
That is why secure packing, balanced weight, and proper strap tension work together.
Fixing only one of those areas may not completely solve the problem.
When Should I Stop Driving and Check the Cargo Bag?
Do not ignore sudden changes in rooftop noise or movement. Stop at a safe parking area when you notice any of these warning signs:
- The bag has visibly changed position.
- A strap looks loose.
- You suddenly hear flapping or banging.
- The carrier has become noticeably lopsided.
- One buckle repeatedly loses tension.
- A crossbar or rack component appears to move.
- The bag starts touching a vent, solar panel, or other rooftop equipment.
- A strap begins fraying.
- An attachment loop looks damaged.
- Part of the bag lifts away from the supporting surface.
- The bag’s shape changes substantially while driving.
Do not climb onto the RV roof on the shoulder of a busy highway unless you have no safer option and can do so safely. Move to a parking area or other secure location first.
Common Rooftop Cargo Bag Mistakes That Cause Shifting
Many shifting problems come from small installation choices rather than a defective bag. Avoid these common mistakes before your next trip:
- Assuming every rooftop bag can be used on an RV
- Skipping the manufacturer’s installation instructions
- Using only some of the supplied mounting straps
- Attaching straps to non-structural rooftop equipment
- Loading one side much heavier than the other
- Leaving a large bag mostly empty and uncompressed
- Allowing strap tails to flap freely
- Installing the carrier on a dirty or slippery surface
- Ignoring loose crossbars
- Tightening one side much harder than the other
- Never rechecking the bag after leaving
- Exceeding the carrier or rack weight rating
- Assuming a walkable RV roof is automatically cargo-rated
When Should I Replace the Bag, Straps, or Buckles?
Rooftop cargo equipment deals with constant sunlight, weather exposure, movement, and tension. Inspecting these parts occasionally can help you catch a problem before it causes the bag to move.
Replace the Straps If
Replace straps that show significant fraying, cuts, melted areas, severe fading, stiffness, or damaged stitching.
Webbing that repeatedly slips through an otherwise functional buckle may also need replacement.
Do not rely on knots to restore the strength of badly damaged straps.
Replace the Buckles If
Cracked or distorted buckles should be replaced.
Also watch for adjusters that no longer grip the webbing reliably.
A buckle can look fine at a glance while still allowing the strap to slowly loosen under vibration.
Replace the Cargo Bag If
Inspect the areas where straps connect to the bag.
Torn mounting loops, splitting seams, holes, severe abrasion, or damaged zippers can affect both weather protection and security.
If a structural attachment area is damaged, replacing the bag is usually safer than continuing to load that section.
A Safer Pre-Drive Cargo Bag Check
A short inspection before every travel day can prevent most shifting problems. Run through these items before pulling onto the highway:
- Cargo bag approved for your RV or mounting setup
- Roof and rack load limits verified
- Crossbars or basket firmly mounted
- Bag placed in the correct direction
- Cargo balanced from side to side
- Heavy items packed low
- Large gaps filled appropriately
- Compatible anti-slip pad positioned correctly
- All required mounting straps installed
- Straps routed through approved attachment points
- Strap tension even on all sides
- Buckles fully locked
- Loose strap ends secured
- Bag clear of vents and other rooftop equipment
- Overall RV height checked after adding the cargo
That final height check is easy to overlook.
A loaded rooftop bag can make an already tall RV even taller, which matters around bridges, parking structures, trees, fuel stations, and campground entrances.
Final Words
A shifting RV rooftop cargo bag usually means the complete system needs attention, not just one loose strap. Wind, uneven loading, loose fabric, poor surface grip, and moving crossbars can all create similar symptoms.
Start by checking whether your carrier is approved for the RV. Then inspect the rack, balance the load, control empty fabric, route every strap correctly, and tighten the system evenly.
An anti-slip mat can help, but it should support a good installation rather than compensate for a bad one.
Once everything feels solid, recheck the setup after the load has had time to settle. That simple habit can make rooftop cargo much more predictable during a long RV trip.
Related FAQs
Can I Use a Rooftop Cargo Bag on an RV?
You can use a rooftop cargo bag on an RV only when the bag manufacturer and RV or roof-rack manufacturer approve that setup. Some rooftop carriers specifically exclude RVs, trailers, or towed vehicles, so check the instructions before installation.
Why Does My Rooftop Cargo Bag Slide Backward?
A cargo bag often slides backward when front-to-rear strap tension is insufficient, the mounting surface is slippery, or airflow pushes against the front of the bag. Recheck the strap routing, load balance, bag orientation, and rack stability.
Will an Anti-Slip Mat Stop a Roof Bag From Moving?
An anti-slip mat can reduce sliding, but it should not be your only restraint. The cargo bag still needs correctly routed straps, balanced packing, secure attachment points, and a stable roof rack.
How Do I Keep Rooftop Cargo From Moving Side to Side?
Balance the load evenly, fill large empty spaces, tighten both side straps evenly, and make sure the rack does not move. A compatible anti-slip pad or roof basket can also help limit sideways movement.
Should a Rooftop Cargo Bag Be Completely Full?
A rooftop bag does not need to be packed completely full, but excessive empty space can allow fabric and cargo to move. Fill large gaps with lightweight soft items and use compression straps when available.
Can I Put a Cargo Bag Directly on My RV Roof?
Only do this when the RV and cargo bag manufacturers allow direct roof placement. The roof material, weight rating, attachment method, and required protective layer all need to be suitable for the installation.
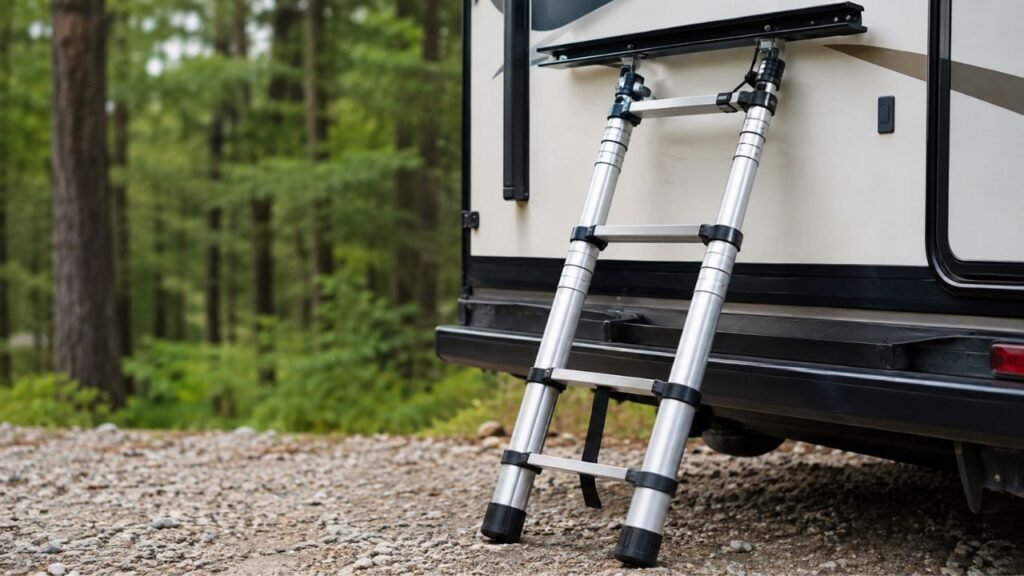
Can I Strap a Cargo Bag to an RV Ladder?
Do not assume an RV ladder is a cargo tie-down point. Use it only if the RV manufacturer specifically approves the ladder for that purpose and confirms the applicable load limits.
Should I Use Ratchet Straps on a Rooftop Cargo Bag?
Use the mounting system recommended by the cargo bag manufacturer. Ratchet straps can create much more tension than ordinary webbing straps and may damage a soft bag, rack, or mounting point if the system was not designed for them.
How Often Should I Check Rooftop Cargo Straps?
Check the straps before departure, again after the first portion of your trip, and during longer stops. You should also inspect them after rough roads, strong crosswinds, or any noticeable change in rooftop noise.
What Should I Do If the Bag Starts Moving on the Highway?
Reduce speed smoothly and stop at a safe parking location as soon as practical. Check the straps, buckles, rack hardware, cargo position, and mounting surface before continuing your trip.
Do Crossbars Stop a Rooftop Cargo Bag From Sliding?
Properly mounted crossbars can provide strong attachment points that help control sliding. However, the bag can still move if the straps are loose, the load is unbalanced, or the crossbars themselves are not secure.
Can Crosswinds Move an RV Rooftop Cargo Bag?
Yes. Crosswinds can place strong sideways pressure on a rooftop bag, especially on a tall RV. Proper strap tension, balanced packing, controlled bag shape, and reduced driving speed in strong winds can help keep the carrier stable.

Jack Collins specializes in RV routes, trail access, and travel logistics. His how-to articles help RV and trailer owners plan smoother trips and avoid common mistakes. Every review focuses on performance, safety, and value.