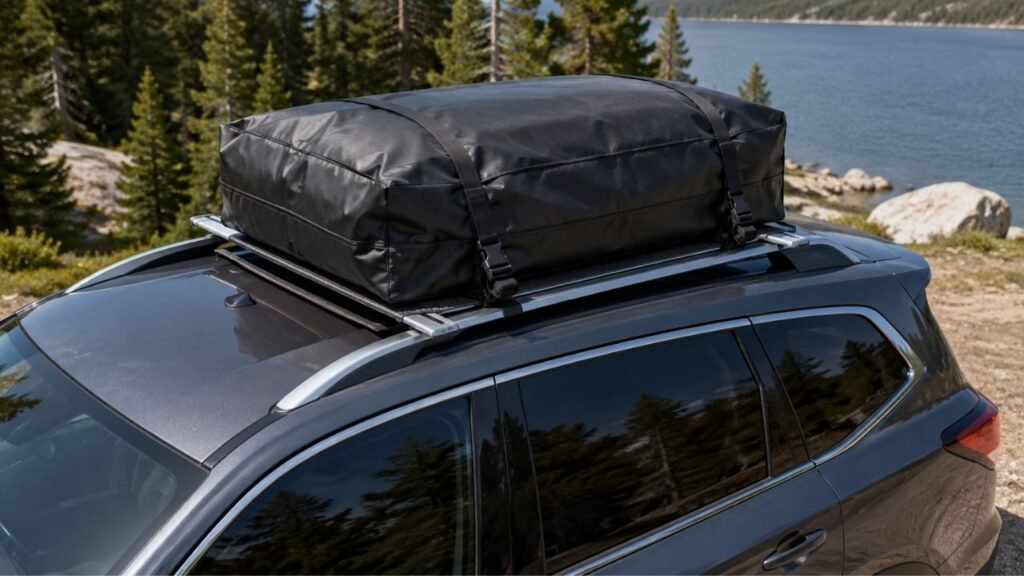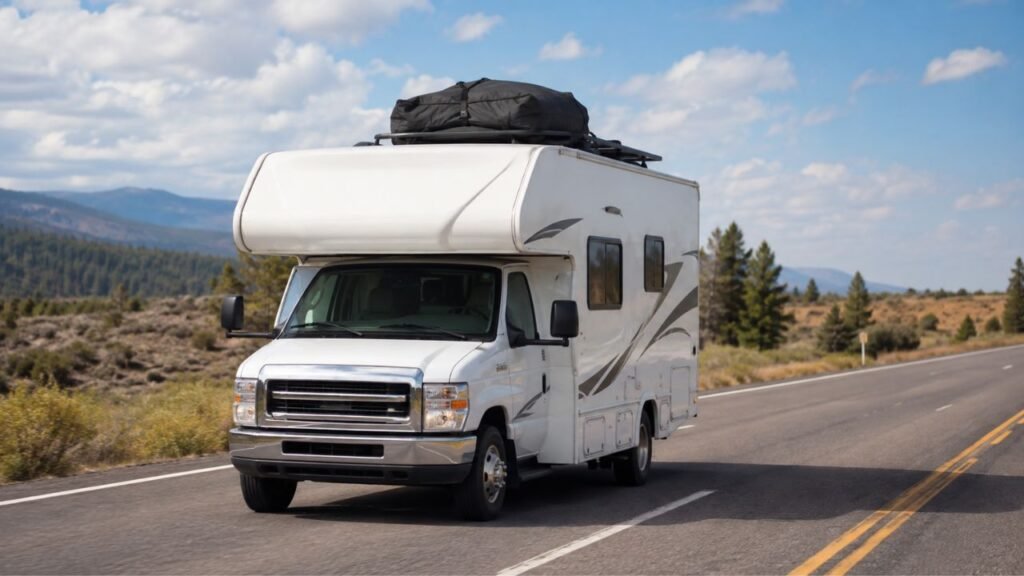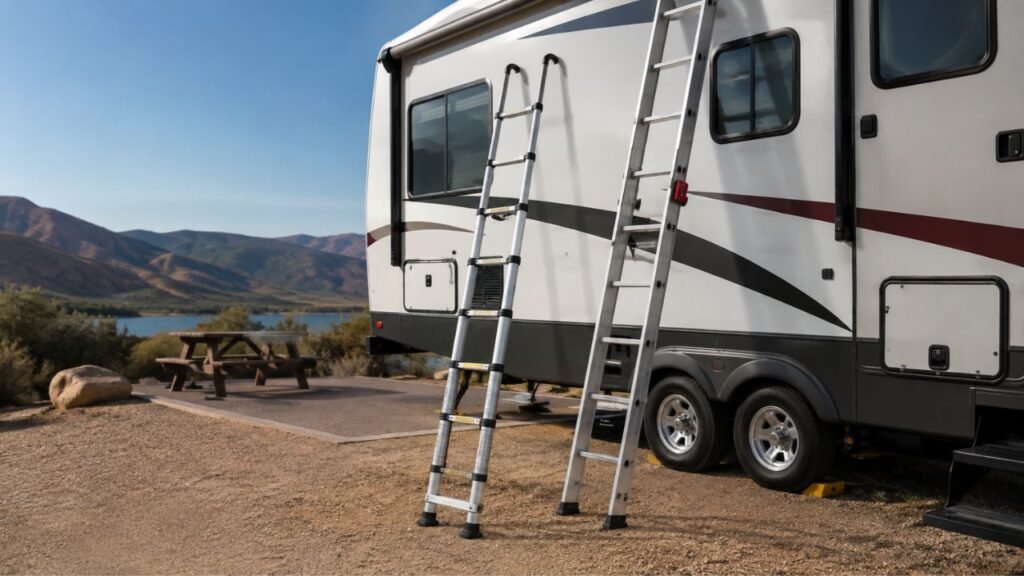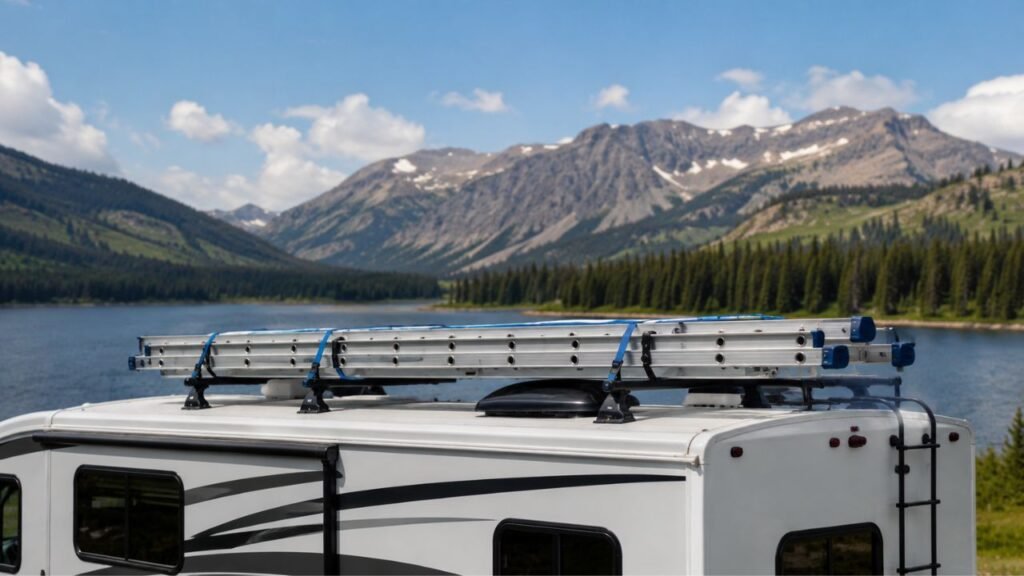
Secure long items on an RV roof rack with at least two rated, non-elastic tie-down straps attached to solid rack points. Space the straps across separate crossbars, keep the cargo centered and well supported, and add front or rear stabilization when needed. Never exceed the RV, roof rack, crossbar, or cargo weight limits.
In this guide, I’ll walk you through the safest way to position, strap, inspect, and transport long items. We’ll also cover ladders, lumber, pipes, kayaks, overhang concerns, wind lift, and common mistakes.
Key Takeaways
- Use at least two independent, rated straps on separate crossbars.
- Keep long cargo centered, low, balanced, and properly supported.
- Never use bungee cords as your primary tie-down method.
- Check the RV, roof rack, and crossbar weight limits first.
- Add front or rear tie-downs when long cargo needs extra stability.
- Secure loose strap ends before driving at highway speeds.
- Recheck the load shortly after leaving and during longer trips.
- Avoid carrying cargo that the rack cannot support safely.
Why Are Long Items Harder to Secure on an RV Roof?
Long items create forces that compact luggage usually does not. Their extra length gives wind, vibration, and vehicle movement more leverage.
A ladder may feel completely solid while your RV is parked. Once you reach highway speeds, though, airflow can push beneath its front edge. Side winds can also make the load twist or move sideways.
Braking creates another challenge. A long item naturally wants to keep moving forward when the RV slows down. Acceleration can make it slide backward.
The taller roof of an RV also increases exposure to wind. That is why simply tightening one strap around the middle is rarely enough.
Your goal is not only to hold the cargo downward. You also need to prevent forward, backward, sideways, and rotational movement.
Check Your RV and Roof Rack Limits Before Loading Anything
Before you start lifting gear onto the roof, confirm the entire setup can safely carry it. Several different weight ratings may apply, and the lowest rating usually becomes your practical limit.
Find the Lowest Applicable Weight Limit
Start with your RV owner’s manual and roof rack instructions.
You may need to check:
- The RV manufacturer’s roof load limit
- The roof rack’s maximum load rating
- The crossbar weight rating
- The mounting system capacity
- The accessory carrier rating
- The RV’s available cargo carrying capacity
Do not assume a strong-looking rack means the RV roof can handle the same weight.
For example, a rack may be rated for 200 pounds. Your RV manufacturer could allow less weight on the roof. In that case, you must follow the lower limit.
You should also remember that roof cargo becomes part of your RV’s overall loaded weight.
Include the Rack and Accessories in Your Weight Calculation
The cargo itself is not the only weight sitting overhead.
Roof rails, crossbars, mounting feet, kayak cradles, pipe carriers, and other accessories all use part of the available capacity.
Suppose your roof limit is 175 pounds. If your rack and accessories already weigh 45 pounds, you do not still have 175 pounds available for cargo.
You would have roughly 130 pounds remaining, assuming no lower component limit applies.
This is one reason I recommend weighing unfamiliar cargo instead of estimating.
Inspect the Rack Before Loading
Give the rack a quick inspection before every major trip.
Check the mounting feet, bolts, crossbars, rails, brackets, and tracks. Nothing should move when you push or pull firmly.
Look for:
- Loose mounting hardware
- Cracked brackets
- Bent crossbars
- Rust or corrosion
- Missing fasteners
- Damaged plastic components
- Movement around mounting points
A loose rack cannot become safe simply because you add more straps.
Make Sure the Item Has Enough Support
Length matters just as much as weight.
A lightweight ladder can still create problems if most of it hangs beyond the crossbars. The unsupported ends may flex, bounce, or create strong leverage against the rack.
The item should rest securely across the rack’s approved support points.
If the cargo is dramatically longer than the available support area, another transportation method may be safer.
What Should You Use to Tie Down Long Items?
Not every strap works equally well for roof cargo. The right choice depends on the item’s weight, shape, surface, and sensitivity to pressure.
Cam Buckle Straps
Cam buckle straps work well for many lighter and moderately heavy loads.
They are especially useful for:
- Kayaks
- Paddleboards
- Surfboards
- Lightweight ladders
- Long storage cases
- Delicate outdoor equipment
Cam straps let you control tension more easily than ratchet straps.
That makes them useful when overtightening could dent or crack the cargo.
Ratchet Straps
Ratchet straps are better suited to rigid, heavier items when stronger tension is required.
They can work well for:
- Sturdy ladders
- Bundled lumber
- Rigid cargo tubes
- Heavy equipment cases
The important part is not to overtighten them.
A ratchet mechanism can create much more force than you might realize. Excessive tension can bend crossbars, crush cargo, or stress mounting points.
Tighten only until the item cannot shift.
Front and Rear Tie-Down Lines
Some long items benefit from additional stabilization at their ends.
These lines can help reduce:
- Wind lift
- Side-to-side yaw
- Forward movement
- Rearward movement
- Bouncing on rough roads
They are especially useful for long watercraft and cargo extending well beyond the crossbars.
However, they should support your primary rack straps rather than replace them.
Padding, Edge Guards, and Anti-Slip Material
Straps can wear quickly when they rub against sharp edges.
Use protective sleeves or edge guards where straps pass over metal corners.
Padding can also protect:
- Kayaks
- Surfboards
- Painted ladders
- Finished lumber
- Fiberglass cargo
Anti-slip padding may help reduce movement between the cargo and crossbars.
Just remember that padding does not replace proper tie-downs.
Cam Buckle vs. Ratchet Strap vs. Bungee Cord
Each restraint has a different purpose. Choosing the right one makes the load easier to secure and reduces the chance of damaging your gear.
| Tie-Down Type | Best Use on an RV Roof Rack | Main Advantage | Main Concern |
| Cam buckle strap | Kayaks, boards, lightweight ladders, delicate cargo | Easy tension control | Must be properly rated |
| Ratchet strap | Rigid and heavier long cargo | Strong holding force | Easy to overtighten |
| Front or rear tie-down | Long or wind-sensitive cargo | Controls end movement | Needs suitable anchor points |
| Rope | Backup or specialized use | Flexible and versatile | Depends on knots and rope quality |
| Bungee cord | Managing light loose items | Fast and convenient | Too elastic for primary securement |
I would not use bungee cords as the main restraint for a long roof load.
They stretch when forces change, which allows cargo to move.
They may still be useful for controlling a loose strap tail or very light secondary items.
How to Secure Long Items on an RV Roof Rack Step by Step
The basic method works for ladders, lumber, pipes, and many other long objects. Some cargo may need extra carriers or end lines, but the foundation remains similar.
- Check every weight limit first: Confirm the RV, rack, crossbars, mounts, and carrier can handle the total load.
- Inspect the roof rack: Tighten loose hardware and replace damaged components before loading anything.
- Measure the cargo: Check its length, width, height, and expected overhang.
- Clear the surrounding roof area: Keep the cargo away from vents, solar panels, skylights, antennas, and air conditioners.
- Position the item lengthwise: Long cargo generally creates less aerodynamic resistance when aligned with the RV.
- Center the weight from side to side: Avoid creating unnecessary imbalance across the roof.
- Support the item across separate crossbars: Do not let most of its length hang unsupported.
- Install the first strap: Route it around an approved crossbar or structural rack point.
- Install the second strap: Position it at another crossbar as far from the first strap as practical.
- Keep both straps flat: Remove twists before tightening.
- Tighten gradually: Apply enough tension to stop movement without crushing the cargo.
- Check forward and backward movement: Push the load toward the front and rear of the RV.
- Add end stabilization when needed: Use front or rear tie-downs for long, flexible, or wind-sensitive cargo.
- Secure all loose strap tails: Loose webbing can flap, fray, or damage the RV.
- Perform a firm shake test: Push and pull the cargo from several directions.
- Measure your final RV height: The roof load may change your clearance dramatically.
If the cargo still shifts after proper tightening, do not simply keep ratcheting harder.
The positioning, support, or carrier setup probably needs improvement.
How Far Apart Should the Tie-Down Straps Be?
Place your primary straps at separate structural support points, normally around separate crossbars.
For long cargo, wider spacing generally improves control.
Imagine holding a long board with both hands close together. It can rotate fairly easily. Move your hands farther apart, and you gain much more control.
The same principle applies to roof-rack straps.
Two straps placed very close together can allow the ends of a long load to pivot.
You should therefore position them as far apart as your approved rack setup reasonably allows.
However, do not move a strap onto a weak or unapproved area just to gain extra spacing.
Proper anchor points always come first.
When Does a Long Item Need Front and Rear Tie-Downs?
Two primary crossbar straps are the starting point, but some loads need extra stabilization. Long cargo can create significant leverage at its unsupported ends.
Consider adding front or rear tie-downs when:
- The cargo extends considerably beyond the crossbars.
- The item is long and relatively lightweight.
- Wind can easily get underneath the load.
- The cargo flexes when you push its ends.
- The item can twist or yaw sideways.
- The carrier manufacturer requires end lines.
- You are transporting a kayak, canoe, or similar watercraft.
- You expect strong winds or extended highway driving.
Think of these lines as stabilization rather than your primary attachment method.
Your main crossbar straps should still carry the responsibility for holding the cargo securely against the rack.
Where Should You Attach the Straps?
Attach your straps only to solid points designed to handle cargo loads.
Suitable attachment locations may include:
- Approved crossbars
- Structural rack rails
- Integrated tie-down eyes
- Manufacturer-approved mounting tracks
- Dedicated carrier anchor points
Do not automatically attach straps to anything that happens to look strong.
I would avoid using:
- Plastic roof trim
- Plumbing vents
- Roof vents
- Solar panel frames
- Awning brackets
- Air conditioner housings
- Antenna bases
- Thin body panels
You should also be cautious about attaching straps to an RV ladder.
Some ladders are designed only for climbing and may not be rated as cargo anchors.
Use them only when the manufacturer specifically allows that purpose.
How to Secure Different Long Items on an RV Roof Rack
Different long items behave differently once air begins moving around them. The basic strap method still applies, but each load has its own weak points.
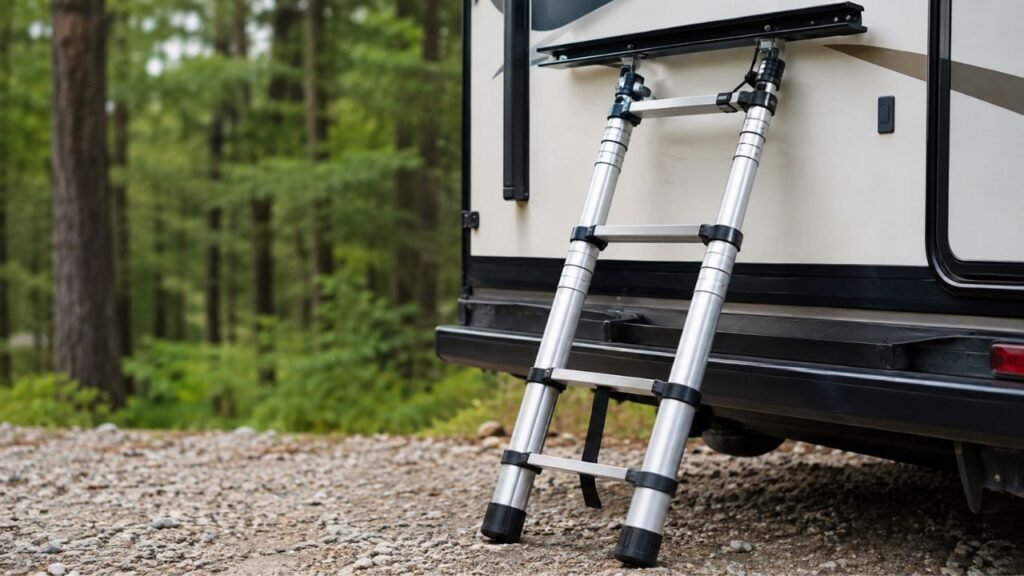
How to Secure a Ladder on an RV Roof Rack
Place the ladder flat and lengthwise across the rack.
Support it across at least two approved crossbars and secure it with two independent rated straps.
Keep the straps separated so the ladder cannot pivot.
Push the ladder forward and backward before leaving.
If it slides, consider compatible load stops or additional restraint rather than excessive strap tension.
Long extension ladders may need extra stabilization because their ends can bounce.
Make sure locking sections are also secured so they cannot extend while traveling.
How to Secure Lumber on an RV Roof Rack
Bundle multiple boards together before attaching the bundle to the rack.
This helps prevent individual boards from sliding out during braking.
Position the bundle over the strongest support area and use at least two independent restraints.
For longer lumber, consider a third restraint or compatible load stop.
Be especially careful with plywood and sheet goods.
Large flat sheets can catch enormous amounts of wind and may be unsuitable for an RV roof rack.
If lumber is very long, flexible, or heavy, a trailer is usually a better option.
How to Secure PVC Pipe or Long Poles
Round cargo creates a different problem because it naturally wants to roll.
Bundle individual pipes together before securing them.
Use straps at separate crossbars and add load stops when compatible.
Make sure individual pipes cannot slide out of the bundle.
For frequent transport, a dedicated pipe carrier provides better containment.
Avoid carrying loose PVC sections held only by one central strap.
How to Secure a Kayak or Canoe on an RV Roof Rack
Use a rack or carrier designed for the specific watercraft whenever possible.
Position the kayak or canoe correctly on the carrier.
Use a cam buckle strap at each approved rack support point.
Tighten the straps until the watercraft cannot shift without deforming its hull.
Long kayaks and canoes commonly benefit from bow and stern stabilization.
Also pay close attention to height.
A kayak on an already tall RV can create serious clearance concerns.
How to Secure a Paddleboard or Surfboard
Use padded crossbars or a board-specific carrier.
Cam buckle straps are usually easier to control than aggressive ratchet straps.
Tighten each strap just enough to prevent movement.
Avoid crushing foam or fiberglass construction.
Long boards may need additional stabilization when their ends extend far beyond the crossbars.
How to Secure Long Cargo Cases or Fishing-Rod Tubes
Rigid cargo cases should rest securely on the rack instead of balancing on narrow points.
Use two separate restraints positioned near different crossbars.
Check the case lid or end caps separately.
The rack straps hold the container to the RV, but they do not guarantee the container itself remains closed.
Fishing-rod tubes should also be prevented from rolling sideways.
Long-Item Roof-Rack Securement Guide
The safest method depends on how each item reacts to wind, braking, and vibration. Use this table as a quick starting point.
| Long Item | Primary Restraint | Extra Stabilization | Main Risk |
| Ladder | Two rated straps | Load stops or extra restraint if needed | Sliding forward or backward |
| Lumber | Two or more rated straps | Bundle boards together | Individual pieces shifting |
| PVC pipe | Multiple straps | Pipe carrier or load stops | Rolling or sliding |
| Kayak or canoe | Cam straps at support points | Bow and stern lines | Wind lift and yaw |
| Paddleboard | Cam buckle straps | End stabilization when required | Wind lift or crushing |
| Long cargo case | Two independent straps | Third restraint when needed | Pivoting or sliding |
How Much Overhang Is Too Much?
There is no single overhang distance that works for every RV and every roof rack.
Instead, ask three questions.
First, can the rack safely support the item’s length?
A lightweight object can still create dangerous leverage if most of it hangs beyond the crossbars.
Second, does the cargo remain stable in wind and during braking?
If the ends flex heavily or move during a shake test, your support may be inadequate.
Third, does the load comply with state rules?
Cargo projecting beyond the RV may need warning flags, lights, reflectors, or other markings.
If the overhang makes you uncomfortable before you even leave the driveway, that is a good sign to reconsider the transport method.
Are There Laws for Roof-Rack Overhang in the USA?
Roof-load and projecting-cargo rules can differ between states.
There is not one simple overhang rule that applies equally everywhere.
Depending on where you travel, regulations may address:
- Rear cargo projection
- Side projection
- Warning flags
- Reflectors
- Nighttime lights
- Maximum loaded width
- Maximum vehicle height
- Overall vehicle and cargo dimensions
This matters especially for RV owners crossing multiple state lines.
Before traveling, check the current projecting-load rules for every state on your route.
Use the official DMV, DOT, highway patrol, or state transportation authority whenever possible.
Do not rely on a single general rule from another state.
How Do You Prevent Wind From Lifting a Long Roof Load?
Wind lift becomes more important as cargo gets longer and flatter.
The safest approach is to reduce the amount of airflow getting underneath the item.
Keep long cargo as low as your carrier allows.
Position it according to the carrier or cargo manufacturer’s instructions.
Avoid creating a large upward-facing leading edge.
Secure flexible covers so they cannot balloon in the wind.
Make sure the front of the load cannot bounce or lift during your shake test.
End stabilization may also help long, wind-sensitive items stay aligned.
Driving speed matters too.
Strong airflow at highway speeds places much greater force on roof cargo.
Slow down when crosswinds become strong or the load feels unstable.
How Tight Should Roof-Rack Straps Be?
Your straps should be tight enough that the cargo cannot shift by hand.
They should not be so tight that the cargo or rack begins deforming.
This matters most when you are using ratchet straps.
Their mechanical advantage makes it easy to create excessive force.
If you see a kayak hull dent, a plastic case distort, or a crossbar bend, back off the tension.
More tension does not always mean more safety.
Proper support and correct strap placement matter just as much.
How Do You Stop Long Items From Sliding Forward or Backward?
Downward pressure alone does not always prevent lengthwise movement.
This becomes especially important during emergency braking.
Start by placing your two restraints at separate crossbars.
Wide spacing gives the setup more resistance against sliding and rotation.
You can also use:
- Compatible load stops
- Carrier cradles
- Anti-slip padding
- Additional end stabilization
- Dedicated ladder or pipe racks
After tightening everything, push the cargo firmly toward the front of the RV.
Then pull it toward the rear.
If it moves, fix the underlying support problem before driving.
Protect the RV Roof While Securing Long Cargo
An RV roof contains far more equipment than a typical passenger vehicle roof. That makes careful cargo positioning especially important.
Keep Cargo Away From Roof Components
Plan the loading position before placing anything on the rack.
Keep long objects away from:
- Solar panels
- Roof vents
- Air conditioners
- Skylights
- Plumbing vents
- Antennas
- Sealant joints
- Satellite equipment
Even a small amount of repeated rubbing can damage sealant or roof components.
Leave enough clearance for components that need ventilation or movement.
Prevent Strap and Cargo Abrasion
Inspect the complete strap route before tightening.
Make sure webbing is not rubbing against sharp metal corners.
Use strap protectors, padding, or edge guards when needed.
Keep metal buckles away from painted RV surfaces.
Vibration can make a buckle rub against the same spot for hours.
That may damage paint, fiberglass, or roof membrane material.
Never Use Rooftop Equipment as an Unapproved Anchor
A solar panel bracket may look strong.
That does not make it a proper cargo anchor.
The same rule applies to roof vents, antennas, awnings, and air conditioner components.
Tie your cargo only to structural points approved for load securement.
Check Your Loaded RV Height Before Driving
Long roof cargo can increase an RV’s total height more than expected.
This matters especially with kayaks, cargo tubes, or stacked equipment.
Measure the highest point after everything is secured.
Do not rely on the RV’s factory height specification.
Your new loaded height matters around:
- Low bridges
- Campground branches
- Fuel station canopies
- Parking structures
- Garage doors
- Storage buildings
- Drive-through entrances
- Ferry decks
I recommend keeping the loaded height somewhere visible near the driver’s area.
That simple reminder can prevent an expensive mistake.
Roof-Rack Mistakes That Can Make a Long Load Unsafe
Most dangerous roof-load problems begin with small shortcuts. These mistakes are easy to avoid once you know what to look for.
- Using Only One Strap: One strap may hold the center down but can let the ends pivot. Use at least two independent restraints on separate support points.
- Using Bungee Cords as the Main Tie-Down: Bungee cords stretch and are unreliable as primary restraints. Use rated, non-elastic straps instead.
- Overtightening Ratchet Straps: Excessive tension can damage cargo, rack components, or mounting points. Tighten until the load stops moving.
- Attaching Straps to Weak RV Components: Do not use vents, trim, solar brackets, or other accessories as anchors. Use approved structural points only.
- Placing Both Straps Too Close Together: Closely spaced straps allow more rotation. Place them across separate approved support points.
- Ignoring Unsupported Overhang: Unsupported ends can flex, bounce, and stress the rack. Ensure the cargo has adequate support and add stabilization when needed.
- Leaving Strap Tails Loose: Loose webbing can flap, fray, and damage the RV. Secure every strap tail before driving.
- Forgetting the RV’s Overall Cargo Capacity: Roof cargo adds to the RV’s total weight. Include the cargo, rack, and accessories in your calculation.
- Assuming a Driveway Shake Test Is Enough: A shake test cannot simulate highway conditions. Recheck the load after 10 to 15 minutes and after rough roads or strong winds.
What Should You Check Before Driving?
A final walk-around can catch problems before they become dangerous. I recommend using the same simple routine every time you carry long cargo.
- Confirm the rack mounts are tight.
- Verify the cargo is centered and properly supported.
- Check all weight ratings again.
- Make sure at least two independent restraints are installed.
- Confirm required end lines are secure.
- Check that every strap lies flat.
- Inspect webbing for cuts or fraying.
- Make sure buckles or ratchets are fully secured.
- Secure every loose strap tail.
- Push the cargo forward and backward.
- Push it from both sides.
- Check clearance around solar panels and roof equipment.
- Confirm any required overhang markings are installed.
- Measure the RV’s loaded height.
- Make sure nothing blocks lights or visibility.
If something feels questionable, fix it before leaving.
When Should You Recheck the Straps During a Trip?
Check the load again after the first short stretch of driving.
Around 10 to 15 minutes is a useful first inspection point.
Cargo can settle once the RV begins moving.
Straps may also seat differently around the load after vibration starts.
On longer trips, inspect everything during fuel, food, or rest stops.
Check sooner after:
- Rough roads
- Strong winds
- Heavy rain
- Sudden braking
- Sharp evasive maneuvers
- Hearing new roof noises
A new whistle, rattle, tapping, or banging sound should always be investigated.
Do not assume the noise is harmless.
When Should You Avoid Carrying a Long Item on the RV Roof?
Sometimes the safest tie-down method is choosing another way to transport the item. A roof rack cannot make every long object suitable for rooftop travel.
Consider another transportation method when:
- The cargo exceeds any applicable weight rating.
- The rack cannot support enough of the item’s length.
- The cargo flexes excessively beyond the crossbars.
- You cannot find approved structural anchor points.
- The load interferes with solar panels or roof equipment.
- The final vehicle height creates serious clearance concerns.
- The cargo projects too far from the vehicle.
- The rack manufacturer does not permit that load type.
- You cannot safely lift the cargo onto the roof.
- You cannot safely inspect or retighten the setup.
A properly rated trailer, dedicated ladder rack, pipe carrier, or separate vehicle may be safer.
There is nothing wrong with deciding a load does not belong on the roof.
Final Words
Securing long items on an RV roof rack is mostly about controlling movement.
Use a suitable rack, stay within every weight limit, and support the cargo correctly. Then use at least two independent rated straps on separate structural points.
For longer or wind-sensitive items, add proper end stabilization when needed.
Finally, inspect the load shortly after leaving and throughout longer trips.
Extra straps are helpful, but they cannot fix an overloaded rack, poor support, or an unsuitable cargo setup.
Related FAQs
How Many Straps Do You Need for a Long Item on an RV Roof Rack?
You should generally use at least two independent rated straps attached at separate rack support points. Longer, heavier, flexible, or wind-sensitive cargo may need a third restraint or front and rear stabilization.
Can You Use Ratchet Straps on an RV Roof Rack?
Yes, you can use rated ratchet straps when the cargo and rack can tolerate their tension. Tighten them only until the load stops moving because excessive ratcheting can damage cargo or rack components.
Are Bungee Cords Safe for Securing Long Items?
Bungee cords should not be used as the primary restraint for long roof cargo because they stretch under changing loads. Use rated non-elastic cam buckle or ratchet straps instead.
Do You Need Front and Rear Tie-Downs for a Long Roof Load?
You may need front and rear tie-downs when cargo extends significantly beyond the crossbars, catches wind easily, flexes, or requires additional stabilization according to the carrier manufacturer.
Can You Carry a Ladder on an RV Roof Rack?
Yes, if your RV and roof rack allow it. The ladder must remain within the applicable weight limits, rest across adequate support points, and be secured against forward, backward, sideways, and upward movement.
Can You Carry Lumber on an RV Roof Rack?
You can carry suitable lumber when the rack supports its weight and length. Bundle multiple boards together and secure them with rated straps. Very long, heavy, flexible, or wide material is usually safer on a trailer.
Can You Carry a Kayak on an RV Roof Rack?
Yes, if the rack and kayak carrier are compatible with your RV. Use secure straps at the approved support points, add bow or stern stabilization when required, and measure the final RV height before driving.
How Much Weight Can an RV Roof Rack Hold?
There is no universal RV roof-rack capacity. Check your RV owner’s manual, rack specifications, crossbar rating, mounting system, and cargo carrying capacity, then follow the lowest applicable limit.
Is It Legal for Cargo to Hang Off an RV Roof Rack?
Cargo overhang can be legal when it meets the rules of the state where you are traveling. Projection limits, warning flags, lights, reflectors, and maximum dimensions can vary between states.
How Often Should You Check Roof-Rack Straps While Driving?
Check the straps after the first short drive, usually around 10 to 15 minutes. Inspect them again during normal travel stops and immediately after rough roads, strong winds, or sudden braking.

Jack Collins specializes in RV routes, trail access, and travel logistics. His how-to articles help RV and trailer owners plan smoother trips and avoid common mistakes. Every review focuses on performance, safety, and value.