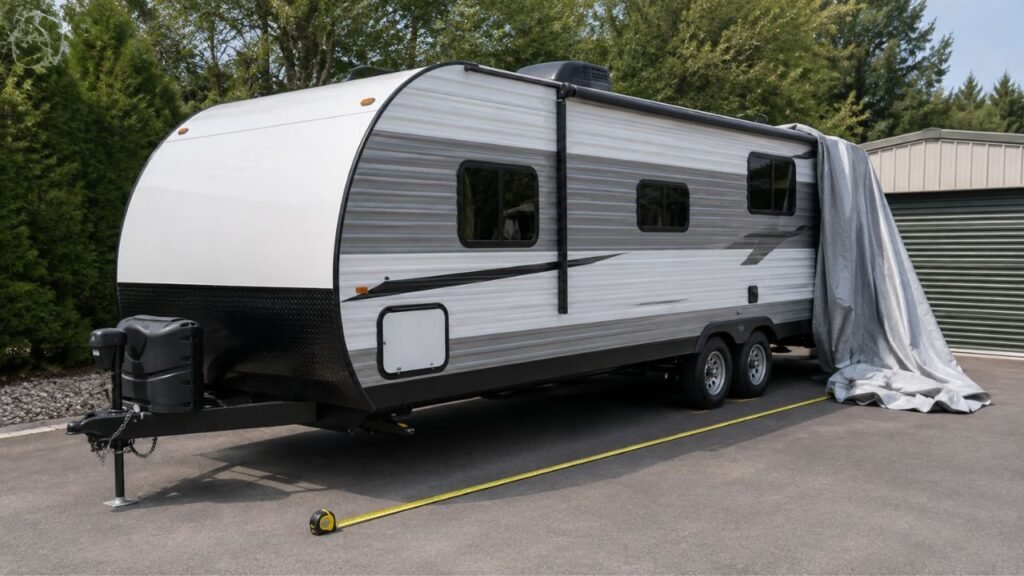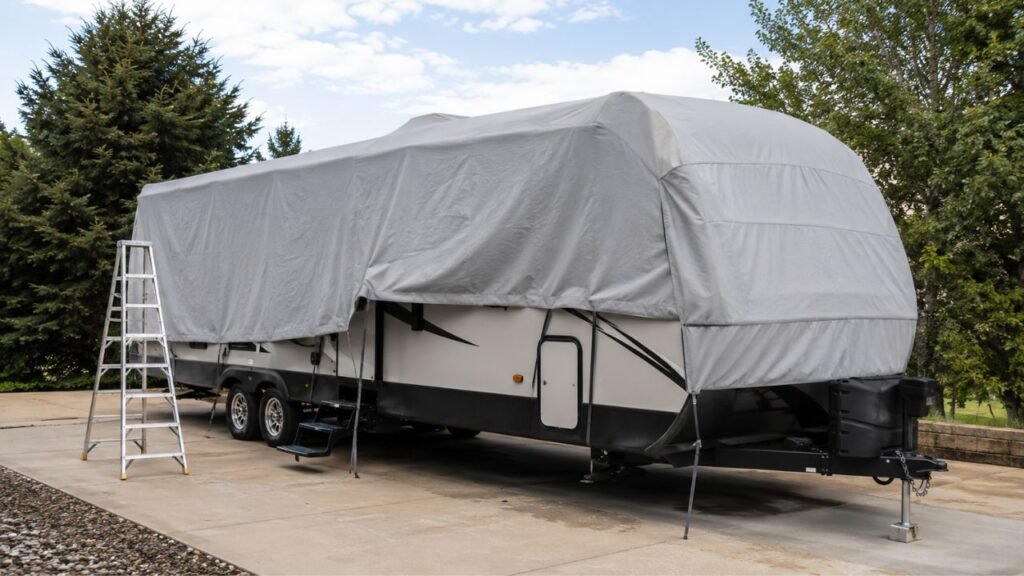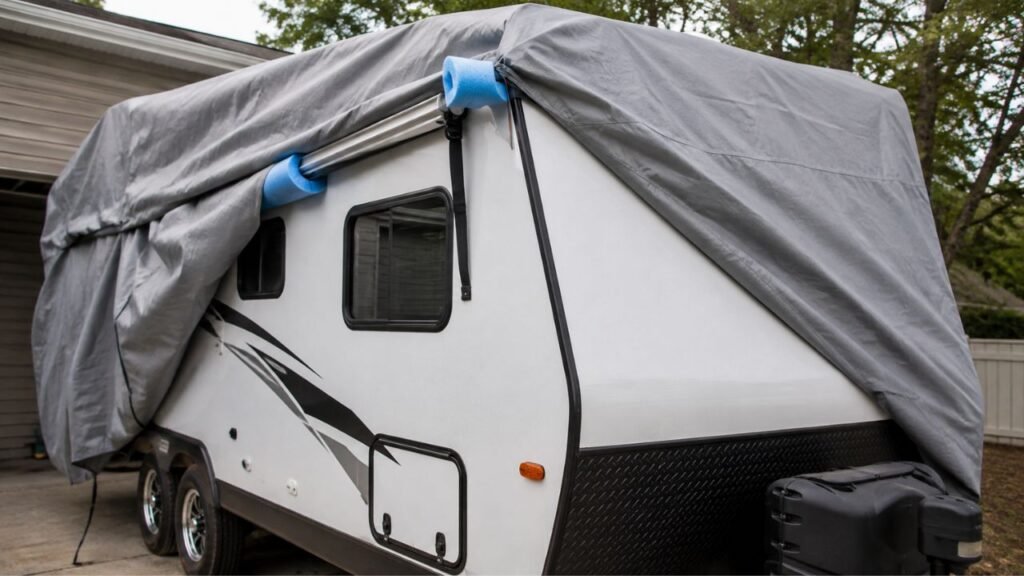
You can protect sharp RV corners from tearing a cover by padding every contact point with soft, weather-resistant material. Pool noodles, foam pipe insulation, tennis balls, folded fabric, and purpose-made corner guards can all create a rounded barrier between the RV and the cover.
The important part is knowing where the cover actually rubs and securing the padding so it stays put. I’ll walk you through the areas to inspect, which materials work best, and how to keep wind and improper cover tension from causing new tears.
Key Takeaways
- Pad every sharp corner, protrusion, and high-pressure contact point before installing the cover.
- Pool noodles work especially well on larger corners, steps, ladder edges, and slide-out trim.
- Tennis balls are useful for rain gutter spouts and small pointed projections.
- Foam pipe insulation works well on narrow rails, trim, and long edges.
- Secure padding so it cannot shift or expose sharp fastening points.
- A properly fitted RV cover should be snug without being stretched tightly over corners.
- Recheck the padding after windy weather because movement can create new abrasion points.
Why Do Sharp RV Corners Tear a Cover?
Most RV cover damage does not happen because the fabric touches a corner once. It happens because the cover keeps rubbing against the same spot for days or months.
Wind moves the fabric back and forth. Even a corner that does not feel extremely sharp can slowly wear through several layers of material.
A pointed gutter spout creates a slightly different problem. It concentrates pressure on a very small section of the cover. If the fabric is stretched tightly over that point, a small puncture can eventually appear.
Straps and elastic hems can increase that pressure. Snow, rainwater, and wind can also push the cover against protruding hardware.
The goal of padding is therefore simple. You want to turn a small, hard contact point into a wide, soft, rounded surface.
Which Sharp RV Areas Should You Protect Before Installing the Cover?
Before installing the cover, walk completely around your RV and look at it from the cover’s point of view. Anything the fabric will stretch across, wrap around, or repeatedly rub against deserves attention.
Rain Gutter Spouts and Drip-Rail Ends
Rain gutter spouts are among the most common places where covers develop holes.
They extend outward from the RV body and concentrate pressure on a tiny area. Extended gutter spouts can be even harder on the fabric.
You can usually protect them with:
- Tennis balls
- Small sections of pool noodles
- Foam pipe insulation
- Purpose-made RV gutter guards
Whatever you use, make sure the sharp or narrow end no longer touches the cover directly.
Front and Rear Body Corners
Do not focus only on the roofline.
The lower front and rear corners can also damage the cover because the elastic hem and underbody straps pull fabric around these areas.
Run your hand around each body corner. If you can feel a hard edge through light pressure, I would pad it.
A short piece of pool noodle with a lengthwise slit works particularly well here.
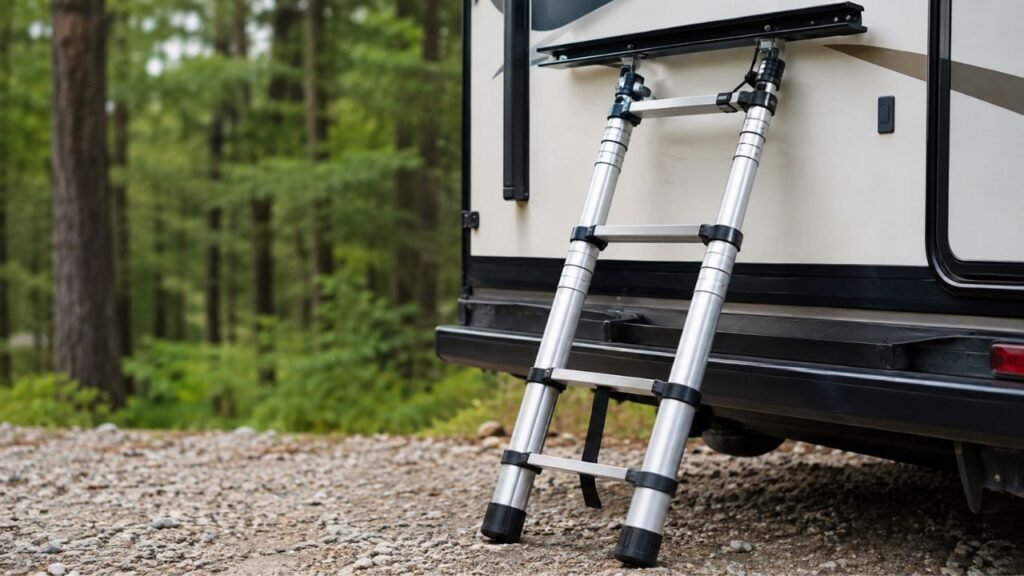
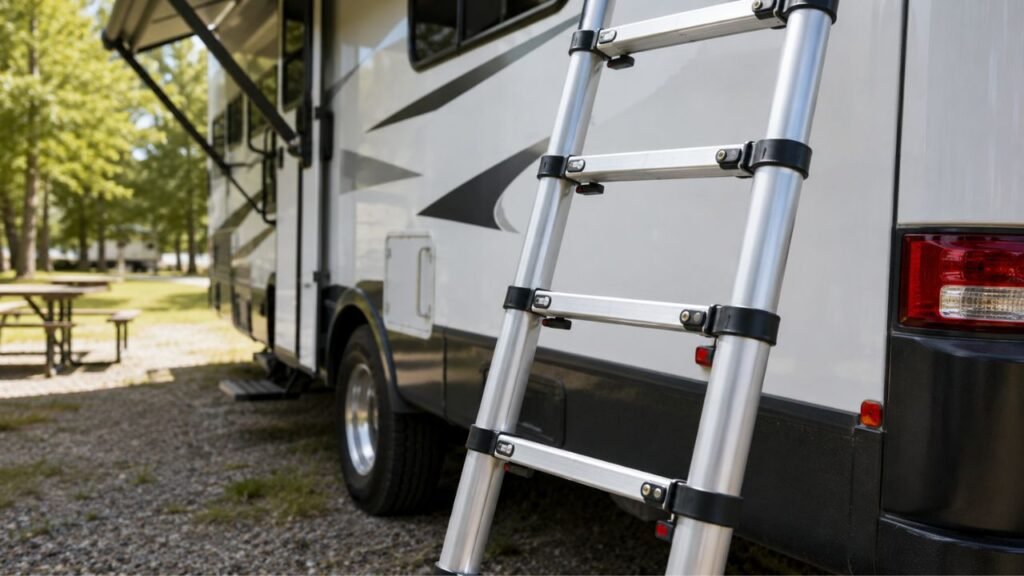
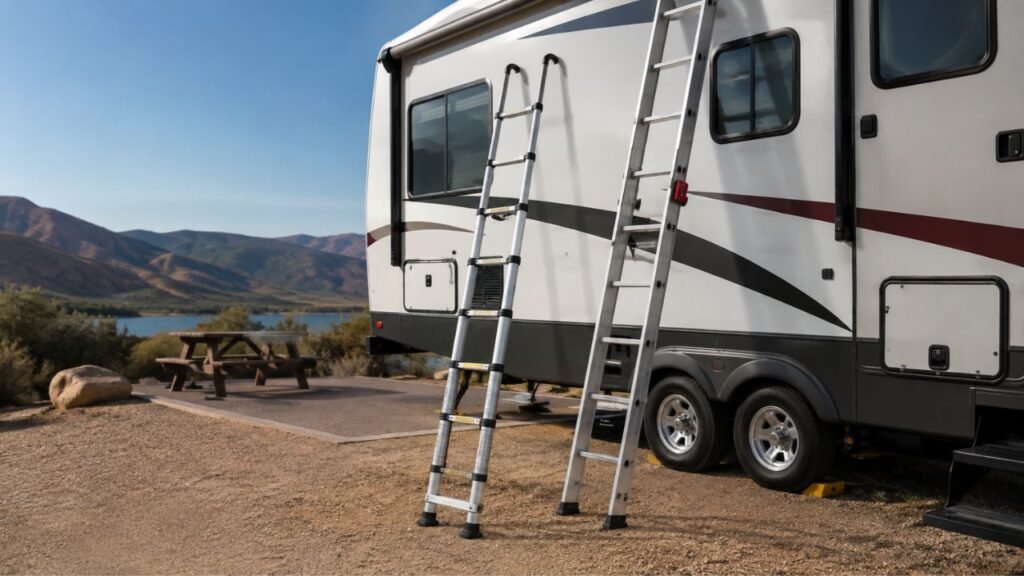
RV Ladder Edges
RV ladders create several possible contact points.
The upper ladder rails may press directly into the cover. Mounting brackets and lower ladder sections can also create friction.
Purpose-made ladder caps are convenient, but shaped foam can work just as well when properly secured.
The idea is not necessarily to cover the entire ladder. Focus on the points where the cover will actually rest.
Awning Arms and Mounting Brackets
Retracted awnings still leave hardware against the side of the RV.
The ends of support arms, mounting brackets, and other protruding pieces may rub against the cover in wind.
These parts may not feel sharp enough to cut fabric immediately. However, repeated movement over several months can still cause wear.
Small pieces of foam are usually enough to create a smoother contact surface.
Slide-Out Corners and Lower Skirting
Slide-out areas are easy to overlook.
When the slide is retracted, inspect the outer frame, lower corners, skirting, and areas near the wheel fenders.
Some trailers have surprisingly sharp edges where the slide frame meets the lower body trim.
If your cover wraps underneath that area, the fabric can remain under tension against the edge throughout storage.
Slit pool-noodle sections or foam insulation can be trimmed to follow irregular shapes.
Steps and Entry Hardware
Retracted RV steps can still have exposed side plates, brackets, and corners.
These areas often sit low on the RV, which means owners may miss them while concentrating on the roof.
Check both sides of every step assembly.
If the cover wraps underneath the RV, any exposed corner near the bottom edge can become a serious rubbing point.
Roof Antennas and Other Protrusions
Lower or retract roof antennas whenever the manufacturer allows it.
If a bracket or antenna base remains exposed, inspect it carefully. A small foam pad may be enough to prevent direct contact.
You do not need to cover every roof component automatically.
Rounded air-conditioner housings, smooth vent covers, and skylights generally present less risk than narrow brackets or pointed hardware.
Inspect each item individually instead of adding unnecessary padding everywhere.
What Is the Best Material for Protecting RV Cover Corners?
Different materials work better on different shapes. I would not try to use one solution for every part of the RV.
| Padding Material | Best For | Main Advantage | Main Limitation |
| Pool noodles | Large corners, steps, ladders, slide edges | Thick, durable, and easy to shape | Can be bulky on small parts |
| Foam pipe insulation | Rails, trim, brackets, narrow edges | Already slit and easy to install | May be too thin for large corners |
| Tennis balls | Gutter spouts and small protrusions | Creates a broad rounded surface | Requires cutting |
| Purpose-made gutter guards | Gutter ends | Designed specifically for covers | May not fit every RV |
| Ladder protectors | Upper ladder rails | Quick and reusable | Limited to ladder areas |
| Folded towels or rags | Large irregular hardware | Easy to shape | Can shift or hold moisture |
| Thick socks | Small temporary protection areas | Cheap and simple | Less durable outdoors |
For a basic DIY setup, pool noodles are probably the most versatile option. Pipe insulation handles smaller areas better, while tennis balls are especially useful on isolated protrusions such as gutter spouts.
How Do You Protect RV Corners With Pool Noodles?
Pool noodles work well because they are soft, inexpensive, water-resistant, and easy to cut.
Start by holding the noodle against the corner you want to protect. Mark a section slightly longer than the actual contact area.
Cut the section with a utility knife. Then make a lengthwise slit through one side of the noodle.
Open the slit and push the foam over the corner.
For irregular hardware, you may need to cut a notch or small opening in the foam. Take off a little material at a time. A snug fit helps the padding remain in place.
Once installed, check the surface that will face the RV cover.
The cover should touch a smooth section of foam. It should not touch an exposed corner, hard fastener, or sharp edge hidden beside the noodle.
Secure the foam if necessary, but avoid creating another hard protrusion while doing it.
You can use the same basic method on body corners, slide trim, ladder edges, step hardware, and awning brackets.
How Do You Protect RV Gutter Spouts From the Cover?
Gutter spouts deserve extra attention because they are small, rigid, and positioned directly beneath the cover.
Use a Purpose-Built Gutter Protector
If your RV cover came with gutter protectors, I would use those first.
They are designed to create a rounded surface around the gutter end while giving the cover enough room to move without touching the sharp point.
Make sure each protector fits securely before pulling the cover into position.
Use a Tennis Ball
A tennis ball is one of the simplest DIY gutter protectors.
Cut a small slit or X into the ball, then push it over the gutter spout.
Keep the opening relatively small. You want the ball to grip the spout instead of sliding off easily.
The round outer surface spreads pressure across a much larger section of the cover.
Use Foam Pipe Insulation
Foam pipe insulation works well when the gutter or drip rail has a longer exposed edge.
Cut a section to size, open the existing slit, and fit it over the part.
If necessary, secure it so wind cannot work it loose.
Use a Small Pool-Noodle Section
For longer or more aggressive gutter extensions, a short pool-noodle section may provide more cushioning.
Trim the foam carefully so it fits around the gutter without forcing the plastic gutter piece downward.
How Should You Secure the Padding to the RV?
Padding is only useful while it remains over the problem area. A loose foam piece that falls away halfway through winter leaves the cover exposed again.
Secure the Padding Without Creating Another Sharp Edge
Whenever possible, fasten the foam to itself rather than aggressively taping it directly onto the RV finish.
You can wrap tape around a split noodle to help it stay closed.
Make sure the tape edges remain smooth. The cover should never rub against a hard buckle, exposed wire, or sharp fastener.
Also be cautious around decals, painted surfaces, sealants, fiberglass, and roof membranes. Adhesives can behave differently after months of heat, cold, and moisture.
Use Zip Ties Carefully
Zip ties can hold foam firmly around rails, brackets, and other hardware.
However, they create a new problem if you leave a sharp cut end pointing toward the cover.
Trim the excess carefully and rotate the locking head away from the fabric.
Better yet, position the tie where the cover is unlikely to contact it at all.
Use Hook-and-Loop Fasteners or Reusable Guards
Reusable gutter and ladder guards sometimes use hook-and-loop straps or similar fastening systems.
These can be convenient if you remove and reinstall the cover every year.
Use the fastener supplied with the protector whenever possible instead of improvising a more aggressive attachment method.
Should You Use Gaffer’s Tape, Painter’s Tape, or Duct Tape?
Any of these tapes may hold foam temporarily, but I would not treat them as interchangeable.
Gaffer’s tape generally holds well while being easier to remove cleanly from many surfaces. Painter’s tape is less aggressive and can work for lightweight temporary padding.
Duct tape is strong, but its adhesive can become messy after long exposure to sun, moisture, and temperature changes.
More importantly, the tape should not become the main protective surface.
Use it to hold the foam in position. Let the foam absorb the pressure from the cover.
Whenever possible, tape around the padding itself instead of applying adhesive directly to painted RV surfaces, decals, sealants, or roofing materials.
If you do need tape against the RV, check whether the adhesive is suitable for that specific surface first.
How Tight Should an RV Cover Be Around Padded Corners?
Your RV cover should be secure enough to control movement but not stretched like a drum across protruding corners.
A very loose cover can flap repeatedly in wind. A very tight cover can place excessive pressure on gutters, ladder rails, and body corners.
The correct setup is somewhere between those extremes.
Before tightening the straps:
- Center the cover over the RV.
- Make sure the front and rear sections are positioned correctly.
- Check that padding has not moved.
- Remove large areas of unnecessary slack.
- Tighten the supplied straps evenly.
- Avoid stretching fabric tightly across protrusions.
- Recheck every padded corner once the straps are secured.
Do not assume that adding more ropes automatically makes the cover safer.
Extra tie-downs can create pressure points or pull the cover against areas it was not designed to contact.
Use the cover’s intended adjustment system unless its manufacturer specifically recommends something different.
Why Can an RV Cover Still Tear After You Pad the Corners?
Padding solves direct contact, but several other problems can still damage the cover.
The Padding Slipped Out of Position
This is one of the easiest failures to miss.
A pool noodle may look secure during installation but slowly work loose as the cover moves.
If the exposed corner returns underneath the cover, the fabric may begin rubbing against it without you noticing.
Secure each pad and inspect it again after windy weather.
The Cover Is Flapping in the Wind
Padding cannot completely compensate for excessive cover movement.
Every time loose fabric slides across the same point, friction occurs. Eventually, even a rounded area can become a wear spot.
Adjust the cover using its built-in straps so large sections cannot billow repeatedly.
The Cover Is the Wrong Size
An undersized cover may stretch tightly over every protrusion.
An oversized cover may create excessive loose fabric that moves in the wind.
Both situations can cause damage.
Use a cover intended for your RV type and overall dimensions instead of relying on a general tarp-like fit.
You Missed a Less-Obvious Contact Point
Many people protect the roof corners and gutter spouts, then stop.
The actual tear may come from a completely different area.
Commonly missed locations include:
- Lower body corners
- Step brackets
- Slide-out trim
- Awning hardware
- Ladder mounts
- Fender edges
- Door stops
- Antenna brackets
Do a second inspection after the cover is partially installed. You may notice pressure points that were not obvious while the RV was uncovered.
Your Padding Is Too Small
A tiny foam pad can sometimes move the pressure rather than eliminate it.
Imagine putting a one-inch pad on a long sharp trim edge. The cover may simply rub against the edge immediately beside the padding.
Extend the protective material beyond the entire contact area.
You want the cover to transition smoothly onto and off the foam.
A Fastener Is Touching the Cover
Check your protective setup carefully.
A cut zip tie, exposed buckle, wire, tape fold, or hard plastic clip can create a new rubbing point.
If you add something underneath the cover, ask yourself whether that item could eventually damage the fabric.
Common RV Corner-Protection Mistakes to Avoid
- Padding only the rain gutter spouts
- Forgetting lower body corners
- Ignoring slide-out and step hardware
- Using tiny foam pieces that do not cover the entire edge
- Installing loose padding that can blow away
- Leaving sharp zip-tie ends exposed
- Pulling the cover tightly across protruding hardware
- Leaving the cover loose enough to flap constantly
- Using an RV cover that does not fit properly
- Assuming thick cover fabric eliminates the need for padding
- Adding random ropes that create new pressure points
- Ignoring small worn areas until they become large tears
How Do You Check the Padding After the RV Is Covered?
Once the cover is installed, give the entire RV another inspection. This final check often catches problems you could not see earlier.
Walk around the RV and look for places where the cover forms a sharp point or appears unusually stretched.
Press lightly against accessible areas. You should be able to feel the soft padding beneath high-risk corners.
Check the following after installation:
- Gutter protectors are still centered.
- Pool noodles have not rotated.
- Lower corner pads remain in place.
- Straps are secure without excessive tension.
- No hard fasteners press against the cover.
- Large fabric sections are not flapping excessively.
Check the cover again after periods of strong wind.
You do not necessarily need to remove it. A careful walk-around can reveal shifted padding, loose straps, or new abrasion areas early enough to correct them.
What Should You Do If a Sharp Corner Has Already Torn the RV Cover?
Do not repair the fabric and immediately put it back over the same sharp corner.
Fix the cause first.
Move or remove the cover from the damaged area and inspect what created the tear. Add enough padding to completely isolate that edge.
Then clean and dry the damaged cover before repairing it.
Use a patch or repair material appropriate for your specific RV cover fabric. Some covers come with their own patch material, which is usually the safest option.
For a small tear, a properly bonded patch may be enough.
Larger damage may require reinforcement from both sides or a more substantial repair.
After repairing the fabric, reinstall the cover carefully and inspect the area again. The repaired section should sit against soft padding rather than the original hard corner.
A Simple RV Cover Corner-Protection Checklist
Before you finish installing the cover, check each of these areas:
- Rain gutter spouts protected
- Front roof corners checked
- Rear roof corners checked
- Lower front corners checked
- Lower rear corners checked
- Ladder contact points padded
- Awning brackets inspected
- Steps folded and checked
- Slide-out edges inspected
- Fender-area trim checked
- Antennas lowered or protected
- Door stops inspected
- Other protruding hardware checked
- Foam secured firmly
- No sharp zip-tie ends exposed
- Cover centered correctly
- Straps tightened evenly
- No fabric stretched hard across a protrusion
Final Words
Protecting sharp RV corners is not complicated, but it does require a careful inspection.
Do not think only about objects that feel sharp enough to cut your hand. A smooth-looking bracket or trim edge can still damage fabric when wind rubs the cover against it thousands of times.
I would start with purpose-made protectors if your cover includes them. For DIY protection, use pool noodles on large corners, pipe insulation on narrow edges, and tennis balls on smaller protrusions such as gutter spouts.
Most importantly, secure every pad and fit the cover correctly.
A few inexpensive pieces of foam can save you from repairing or replacing an otherwise good RV cover.
Related FAQs
Here are a few common questions RV owners have when protecting a cover from sharp corners and protrusions.
Can You Use Pool Noodles to Protect an RV Cover?
Yes. Pool noodles are one of the easiest materials for protecting an RV cover because they are soft, weather-resistant, inexpensive, and simple to cut. Split them lengthwise and fit them over body corners, ladder edges, steps, slide trim, or other protrusions.
How Do You Keep an RV Cover From Ripping on Gutter Spouts?
Cover the gutter spouts before installing the RV cover. Purpose-made gutter protectors, tennis balls, pipe insulation, or small pool-noodle sections can create a rounded surface that prevents the fabric from pressing directly against the gutter tip.
What Can I Put Over Sharp RV Corners Before Covering It?
You can use pool noodles, foam pipe insulation, tennis balls, purpose-made corner protectors, ladder caps, or securely attached soft padding. Choose material thick enough to completely separate the RV cover from the hard edge.
Can I Use Tennis Balls on RV Rain Gutters?
Yes. Cut a small slit or X into a tennis ball and push it over the gutter spout. The round ball spreads pressure across a larger area and prevents the narrow gutter tip from pressing directly into the cover.
Should an RV Cover Be Tight or Loose?
An RV cover should be snug but not excessively tight. Too much slack allows wind-driven flapping, while excessive tension increases pressure on corners and protrusions. Center the cover first, then tighten its supplied adjustment straps evenly.
Can Wind Tear an RV Cover Even If the Corners Are Padded?
Yes. Padding reduces direct punctures and abrasion, but excessive cover movement can still wear the fabric. Keep the cover properly fitted and secured, and inspect it after strong winds to make sure the padding has not shifted.
Can You Use Pipe Insulation to Protect an RV Cover?
Yes. Foam pipe insulation works particularly well on long, narrow edges, rails, trim, and smaller brackets. Its existing slit makes installation easy, although thicker pool noodles may offer better cushioning on large corners.
Is Duct Tape Safe for Securing RV Cover Padding?
Duct tape can hold padding securely, but its adhesive may leave residue or affect certain RV surfaces after long exposure. Whenever possible, wrap tape around the padding instead of directly onto paint, decals, sealants, fiberglass, or roofing material.

Jack Collins specializes in RV routes, trail access, and travel logistics. His how-to articles help RV and trailer owners plan smoother trips and avoid common mistakes. Every review focuses on performance, safety, and value.