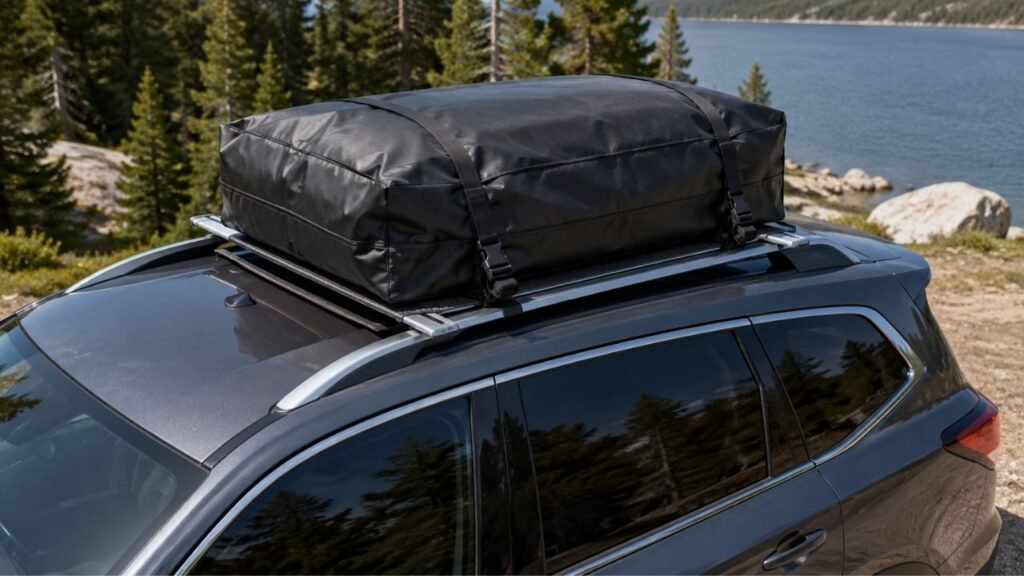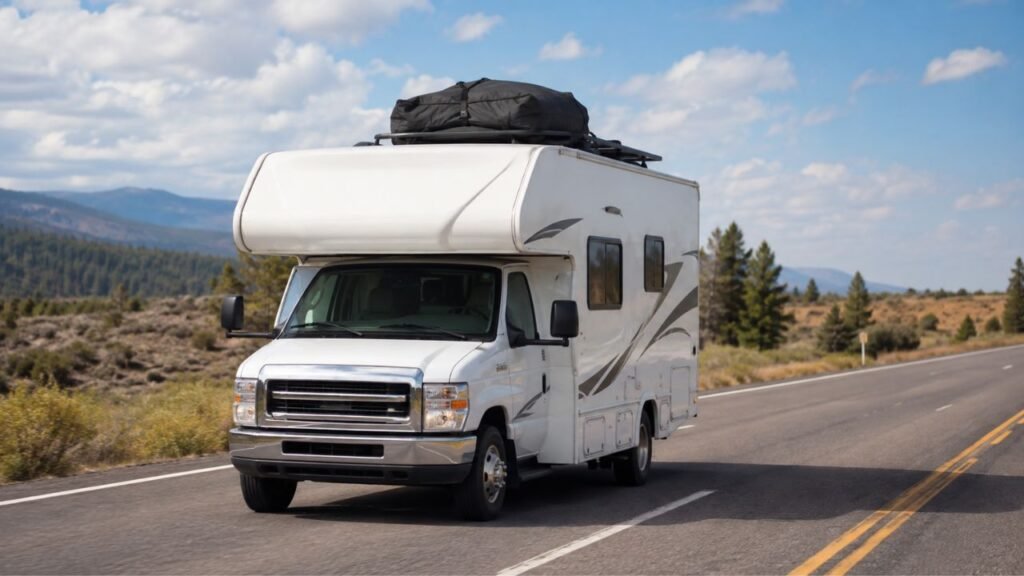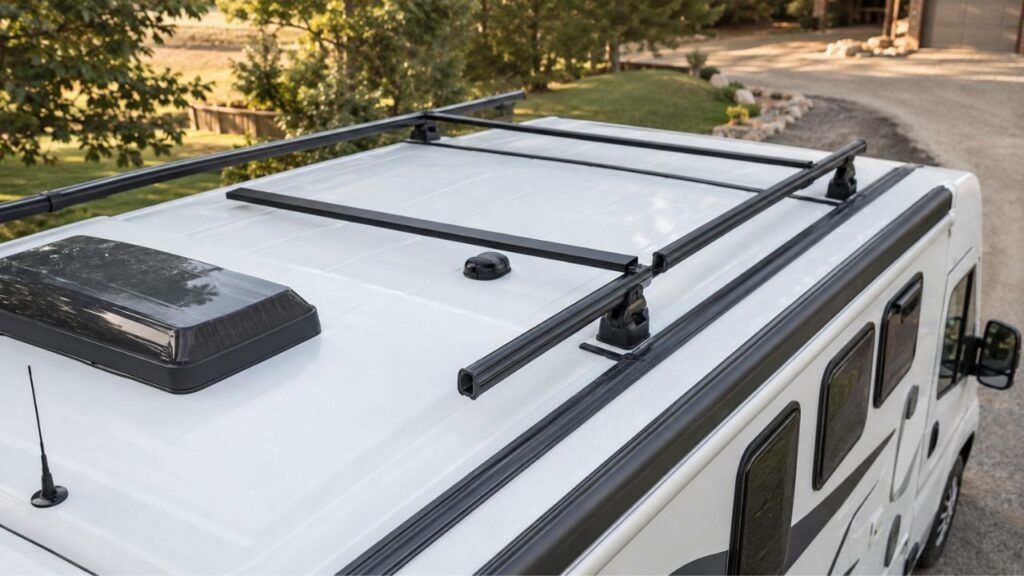
RV roof-rack crossbars usually slide because the mounting hardware is loose, the feet are not seated correctly, rubber pads have lost grip, or wind and cargo forces are overpowering the rack’s clamping pressure. Incorrect fitment, uneven tightening, and a loose roof rail can also cause repeated movement.
If your crossbars keep shifting, I’ll help you narrow down exactly what is moving first. Then we’ll go through the likely causes, the safest fixes, and a few simple ways to keep the rack secure on future trips.
Key Takeaways
- RV roof-rack crossbars should not keep changing position while driving.
- First determine whether the bar, tower, foot, track, or cargo is moving.
- Loose hardware is common, but incorrect rack fitment can look identical.
- Tighten both mounting sides gradually instead of finishing one side first.
- Use the torque specification for your exact rack system.
- Worn or contaminated rubber pads can reduce mounting grip.
- Kayaks, cargo boxes, and other bulky loads create strong wind forces.
- Never solve repeated movement by simply overtightening every fastener.
- Stop using the rack if the supporting roof rail or track is loose.
Why Do RV Roof-Rack Crossbars Slide Out of Position?
A roof-rack system stays secure through correct fitment, clamping pressure, friction, and properly tightened hardware. When one of those elements weakens, repeated road vibration and wind pressure can slowly move the crossbar from its original position.
That movement may happen sideways, forward, backward, or only at one end. Heavy cargo can make the problem worse, but even an empty crossbar can creep if the mounting system is not seated correctly.
Keep in mind that a small amount of bar flex is not always a problem. Flex means the material bends slightly and returns to position. Sliding means the crossbar or mounting foot physically changes where it sits on the rack.
That is the movement you need to investigate.
First Identify What Is Actually Sliding
Before reaching for a wrench, figure out which connection is moving. This saves time because tightening the wrong component may leave the real problem untouched.
| What You Notice | What Is Probably Moving | Likely Cause | What to Check First |
| Entire bar moves left or right | Bar inside the tower or foot | Loose internal clamp or bar fastener | Bar-to-foot connection |
| Bar and feet move together | Mounting foot along the rail | Weak clamping grip | Foot clamps and rubber pads |
| Bar moves forward or backward | Foot or track attachment | Loose track hardware | T-bolts, channel nuts, or track mounts |
| Only one end keeps moving | One mounting point | Uneven tightening or damaged hardware | Compare both sides |
| Cargo moves while bars stay still | Cargo carrier or straps | Loose accessory mounting | Cargo-to-crossbar attachment |
| Roof rail moves with the rack | RV rail or roof attachment | Loose structural mounting | Rail-to-roof connection |
A simple trick is to place removable painter’s tape beside each mounting foot. After a short drive, check whether the foot has moved away from your reference mark.
That immediately tells you whether the rack itself is shifting.
Most Common Reasons RV Crossbars Keep Moving
Several faults can create nearly the same symptom. I recommend checking them in order instead of assuming every sliding crossbar only needs tighter bolts.
Loose Crossbar or Tower Fasteners
Road vibration is one of the most common reasons rack hardware gradually loses holding force.
Depending on your setup, the loose component might be:
- A tower bolt
- An internal crossbar screw
- A T-bolt
- A clamp adjustment screw
- A torque knob
- A track fastener
You may not notice the problem while the RV is parked. Once you reach highway speed, repeated vibration and wind pressure can slowly push the loose connection out of position.
Check each fastener against the instructions for your exact rack.
Do not assume that tighter is always better.
One Side Was Tightened Before the Other
This is easy to do during installation.
If you fully tighten the driver’s side first, for example, the rack can get pulled toward that side before the passenger-side foot has fully seated.
The result may look secure when you finish, but the feet are not applying equal pressure.
A better approach is to bring both sides into light contact first.
Then tighten one side slightly, move to the other side, and continue alternating until both are secure.
This helps the rack settle evenly.
The Mounting Feet Are Not Seated Correctly
A crossbar can be properly tightened and still move if the mounting feet are sitting incorrectly.
Check whether:
- The foot is sitting partly on a curved rail edge
- The rubber pad is folded underneath
- One foot is angled differently from the other
- A tower was installed backward
- Crossbar overhang is very different on each side
- The front and rear bars are positioned incorrectly
The mounting foot should sit flat and match the shape of the rail or mounting surface.
If it looks crooked before tightening, extra torque will not fix the geometry.
Rubber Grip Pads Are Worn, Hardened, or Misaligned
Those rubber pieces under the mounting feet are more important than they look.
They can protect the rail finish, help the foot sit correctly, and provide additional friction.
Over time, rubber may:
- Harden
- Crack
- Tear
- Compress
- Shift out of position
- Become polished and slippery
If a pad is damaged, I would replace it with the correct part rather than stacking random rubber underneath the foot.
The mounting system was designed around a certain pad thickness and shape.
Dirt, Wax, Oil, or Road Film Is Reducing Grip
Sometimes the problem is not damaged hardware at all.
A layer of wax, silicone, grease, road grime, or oily cleaner between the rail and mounting pad can reduce friction.
Remove the rack if necessary and clean both contact surfaces.
Use a cleaner that is safe for the rail coating and rubber components.
After everything dries, reinstall the rack correctly.
Avoid leaving lubricant anywhere the rack relies on friction for grip.
The Rack or Fit Kit Does Not Match the Rail
This is one of the most overlooked causes.
A rack may clamp tightly enough to feel secure by hand but still be wrong for the rail profile.
Problems can happen when:
- A universal rack is outside its supported dimensions
- The clamp does not match the rail shape
- The wrong fit kit is being used
- The tower is intended for another mounting style
- Crossbars are too narrow or too wide
- The clamp reaches the end of its adjustment range
If your crossbars have moved since the first day you installed them, compatibility deserves serious attention.
Repeatedly tightening an incompatible system is not a dependable solution.
Cargo Weight Is Unevenly Distributed
Staying under the maximum rack capacity is important, but total weight is only part of the equation.
Where you place the load matters too.
A heavy item positioned mostly over one side can create greater pressure on one mounting point.
You can also overload one crossbar while the second bar carries very little weight.
Try to center cargo when possible and distribute the load between both crossbars.
Also include the weight of accessories such as baskets, kayak carriers, and cargo boxes when considering total rack load.
Wind Drag Is Pushing the Rack Sideways
Large rooftop cargo acts differently from compact luggage.
A kayak may not weigh much compared with the rack’s stated capacity, but its long surface area can catch a strong crosswind.
The same applies to:
- Canoes
- Paddleboards
- Cargo boxes
- Roof baskets loaded above the rim
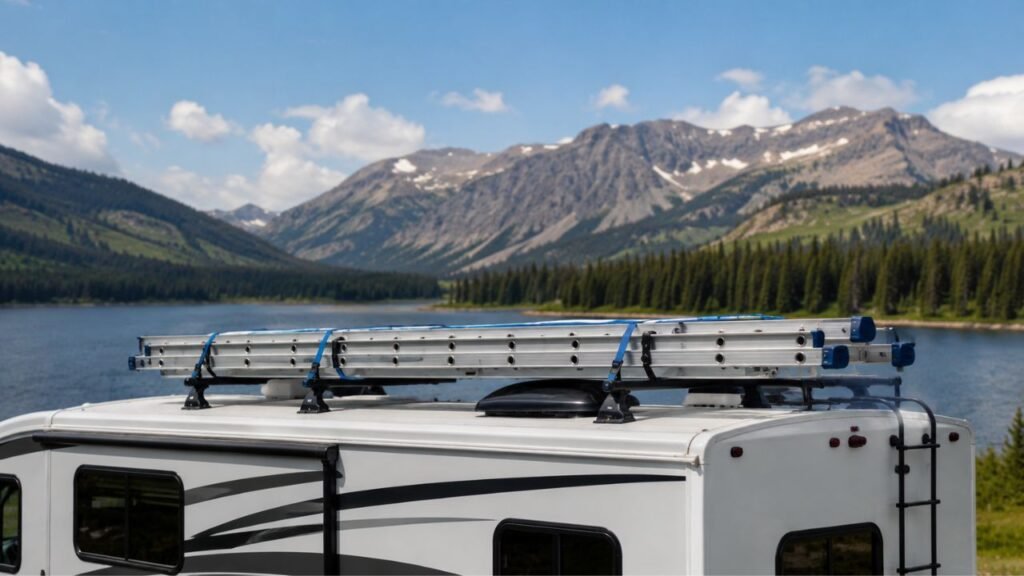
- Long ladders
- Oversized camping equipment
At highway speed, wind can place sustained sideways or rearward force on the rack.
A properly installed system should handle its approved use. However, wind often exposes mounting hardware that was already slightly loose or uneven.
The Side Rail, Track, or Mounting Base Is Loose
This is especially important on RVs.
You can tighten a crossbar perfectly, but it will still move if the rail underneath it is loose.
Check the supporting structure for:
- Loose rail bolts
- Moving roof tracks
- Bent brackets
- Cracked mounting bases
- Damaged track slots
- Corrosion
- Pulled fasteners
- Movement around the roof attachment
If the rail itself moves, I would stop using the rack until that underlying attachment is repaired.
Tightening the crossbar harder will only transfer more force into the loose rail.
Why RV Roof Racks Can Be More Difficult to Diagnose
RV roof-rack systems vary much more than typical passenger-car racks. You might have factory rails, aftermarket tracks, a permanent camper rack, raised side rails, or mounting points added to a fiberglass roof.
That means there is no single tightening method that applies to every RV.
Some racks clamp around raised rails. Others use T-bolts inside aluminum tracks. Some are bolted through the roof structure.
Before adjusting anything, identify which mounting style you have.
You should also check several load ratings instead of looking only at the number printed on the crossbars.
The real limit may depend on:
- The RV roof
- Roof rails
- Mounting tracks
- Towers
- Crossbars
- Cargo accessories
Your usable capacity is normally limited by the weakest part of the system.
How to Fix RV Roof-Rack Crossbars That Keep Sliding
Once you know which component is moving, you can reset the rack more confidently. Work with the roof unloaded so cargo weight does not hide looseness or pull the system out of alignment.
- Remove all cargo from the rack.
Working with an unloaded system makes movement easier to detect. - Mark the current crossbar positions.
Use removable painter’s tape beside the mounting feet. - Test each connection separately.
Try moving the bar, towers, feet, and rails by hand. - Identify the loose section.
Decide whether the problem is inside the tower, at the rail clamp, or below the rail itself. - Remove the affected crossbar if needed.
This lets you inspect hidden clamps, pads, T-bolts, and threads. - Inspect all mounting hardware.
Look for stripped threads, bent clamps, cracked parts, or damaged fasteners. - Clean the contact surfaces.
Remove grime, wax, grease, or contamination. - Replace damaged pads or hardware.
Use parts intended for your rack whenever possible. - Confirm the correct mounting location.
Check crossbar spread, front-to-rear positioning, and side overhang. - Seat both mounting feet evenly.
Make sure neither side is tilted or sitting on a rail edge. - Tighten each side gradually.
Alternate from side to side instead of finishing one side first. - Use the specified torque.
Follow the instructions for your exact rack model. - Perform a firm shake test.
The rack should feel connected to the RV without obvious sliding. - Reload cargo evenly.
Keep weight centered and properly secured. - Take a short test drive.
Start at moderate speed before returning to highway travel. - Check your reference marks.
If the rack moved again, stop and inspect the fitment more closely.
If the crossbars still slide after a proper reset, I would not keep adding torque.
At that point, you may have worn hardware, an incompatible fit kit, or movement in the underlying rail.
Never Guess the Correct Crossbar Torque
There is no universal torque specification that works for every RV roof rack.
Different manufacturers use different hardware, clamps, tower designs, and materials. Even two racks from the same brand may require different tightening values.
That is why I recommend finding the instructions for your exact crossbar, tower, and fit kit.
Using too little torque can allow the rack to slide.
Using too much can:
- Strip threads
- Crack plastic housings
- Bend clamps
- Distort rails
- Damage mounting tracks
- Crush rubber pads
A torque wrench can be useful when the manufacturer provides a numerical specification.
If your rack uses a built-in torque knob or clicking handle, follow that system exactly.
Should You Add Rubber, Tape, or Threadlocker to Stop Sliding?
It is tempting to add extra grip when a rack keeps moving. Some fixes may look effective at first, but they can change how the mounting system seats or hides the real problem.
- Replacement rubber pads: Usually the better solution when original pads are worn.
- Extra drawer liner or rubber: Avoid adding it automatically. Extra thickness may change clamp geometry.
- Double-sided tape: Do not rely on tape as a substitute for a secure mechanical mount.
- Threadlocker: Only use it when your rack manufacturer allows it.
- Extra retaining screws: Do not drill into the bar or rail without approval.
- Overtightening: Never use excessive torque to compensate for poor fitment.
If a rack was designed to hold securely without homemade modifications, I prefer restoring it to that intended setup first.
That makes the repair easier to inspect later.
How Cargo Can Make Crossbar Sliding Worse
Bulky cargo can place much greater forces on a rack than its weight alone suggests. The following items deserve extra attention because they create significant drag and leverage.
Kayaks and Canoes
Kayaks and canoes expose a large surface to crosswinds.
A gust can push sideways on the boat and transfer that force through the carrier into the crossbars.
Check that the kayak carrier is securely mounted and that all straps follow the carrier manufacturer’s instructions.
Where bow and stern lines are recommended, use them correctly.
Also avoid tie-down angles that pull the rack strongly toward one side.
Cargo Boxes and Roof Baskets
A large cargo box creates both frontal drag and side pressure.
Make sure the box itself is not sliding on stationary crossbars.
With a basket, avoid stacking bulky gear much higher than the basket frame unless it is properly secured.
The farther the load sits above the crossbar, the more leverage it can create during turns and wind gusts.
Long or Oversized Gear
Long ladders, boards, and similar items can act like levers.
Even if the load is light, force at one end can place significant stress on the rack mounts.
Secure long cargo using attachment methods designed for that item.
Do not rely only on friction between the load and crossbars.
Crossbar Problems by Mounting Style
Your next inspection should depend on how the rack attaches to the RV. Each mounting style has its own weak points.
Crossbars on Raised Side Rails
Check whether both mounting feet clamp evenly around the rails.
Look closely at:
- Rubber pad condition
- Clamp alignment
- Rail shape compatibility
- Equal foot seating
- Correct bar overhang
If one foot sits higher than the other, remove and reinstall the bar.
Crossbars Mounted in Roof Tracks
Track-mounted racks usually rely on T-bolts or channel nuts.
Check for:
- Loose T-bolts
- Spinning channel nuts
- Damaged track slots
- Incorrect nut orientation
- Loose end stops
- Movement in the track itself
If the track is pulling away from the roof, stop using the rack.
Fixed-Point Crossbars
Fixed-point systems attach to designated mounting locations.
Inspect:
- Bolts
- Threaded inserts
- Spacers
- Covers
- Mounting plates
A stripped insert or damaged mounting point needs more than simple retightening.
Permanently Mounted RV or Pop-Up Camper Racks
With permanently mounted systems, inspect the roof attachment as carefully as the crossbar.
Watch for:
- Loose mounting plates
- Cracked sealant
- Roof flex around fasteners
- Corrosion
- Water intrusion
- Movement between the bracket and roof
Any movement in the structural mounting point deserves attention before carrying more cargo.
How Can You Tell Whether the Rack Is Damaged?
Actual component damage is different from normal looseness. If you notice any of these signs, replacing the damaged part is usually safer than repeatedly tightening it.
- Stripped or rounded threads
- Bent clamps
- Cracked tower housings
- Torn or missing rubber pads
- T-bolts that spin without tightening
- Elongated track slots
- Crossbars that no longer lock into the towers
- Loose roof rails
- Cracks around RV roof mounting points
- Heavy corrosion
- Different movement between matching towers
- Locks or adjustment mechanisms that no longer engage
If the mounting structure itself is damaged, do not treat a new bolt as the complete repair.
The surrounding rail, track, or mounting point may also need inspection.
Is It Safe to Drive With a Crossbar That Keeps Moving?
No. A crossbar that continues changing position should be treated as unsecured until you find and correct the cause.
Repeated movement can loosen the rack further, damage mounting parts, shift your cargo, or eventually allow part of the load to detach.
If you discover movement while traveling, reduce speed and stop somewhere safe.
Inspect the rack before returning to highway speeds.
If the mounting feet or rails are obviously unstable, remove the rooftop cargo when practical and avoid continuing with the rack loaded.
How to Stop the Crossbars From Sliding Again
Once the rack is secure, a little routine inspection can prevent the same issue from returning. I would treat the roof rack like any other travel-related hardware on the RV.
- Inspect the rack before long trips.
- Perform a shake test after reinstalling crossbars.
- Mark mounting positions if the rack has slipped before.
- Recheck hardware after the first drive following installation.
- Inspect again after rough roads or long highway trips.
- Keep mounting surfaces clean.
- Replace damaged rubber pads promptly.
- Keep cargo centered whenever possible.
- Distribute weight across both bars.
- Follow the lowest applicable load limit.
- Use the correct carrier for kayaks and other bulky items.
- Keep the rack instructions available for torque and fitment checks.
A two-minute inspection before departure is much easier than dealing with a shifted rack at highway speed.
When Should You Replace the Crossbars or Mounting Hardware?
Not every slipping rack needs replacement. Sometimes cleaning, correct positioning, and proper tightening solve the issue completely.
Replacement becomes the better option when threads no longer hold, clamps stay bent, plastic housings are cracked, pads are badly deteriorated, or adjustment mechanisms cannot stay locked.
I would also replace any component that repeatedly moves even after you have confirmed the correct rack fitment and installation procedure.
Safety-critical mounting hardware is not a good place for improvised repairs.
When possible, use replacement parts designed for the exact rack system.
Final Verdict
RV roof-rack crossbars usually slide because part of the mounting system has lost grip, proper seating, or clamping pressure. Loose hardware is common, but it is not the only cause.
If your bars keep moving, first identify exactly which connection is shifting.
Then check the mounting feet, pads, hardware, rack fitment, cargo distribution, and underlying roof rails.
The most dependable fix is to restore the rack to its intended mounting position, tighten both sides evenly to the correct specification, and verify that nothing moves during a short test drive.
If the rack still shifts after that, do not keep tightening it harder.
Treat repeated movement as a sign that the hardware, fitment, or supporting structure needs closer inspection.
Related FAQs
Should RV Roof-Rack Crossbars Move at All?
The bars may flex slightly under load, but they should not slide along the rails or change their measured position. Any repeated movement at the mounting points should be inspected.
Why Does My Roof Rack Move Only at Highway Speeds?
Higher speeds create more aerodynamic pressure on the rack and cargo. That extra force can expose loose hardware, weak clamping pressure, incorrect fitment, or unevenly seated mounting feet.
Can I Overtighten Roof-Rack Crossbars?
Yes. Too much torque can strip threads, crack tower parts, bend clamps, damage rails, or distort rubber pads. Always use the tightening method specified for your rack.
Why Does One Side of My Crossbar Keep Sliding?
One-sided movement often points to uneven tightening, a poorly seated mounting foot, worn hardware, damaged padding, or cargo that places more force on one side.
Should I Put Rubber Under Roof-Rack Clamps to Stop Them Sliding?
I would not add random rubber automatically. Extra material can change how the clamp fits. Replace worn pads with the correct parts and fix the underlying mounting issue first.
Can Heavy Kayaks Make Roof-Rack Crossbars Slide?
Yes, especially when the rack is already slightly loose or incorrectly fitted. Kayaks also create considerable aerodynamic drag, so wind can place strong sideways forces on the mounting system.
How Often Should I Check RV Roof-Rack Crossbars?
Check them before major trips, after installing or removing the rack, and after rough-road travel. Also follow any inspection schedule provided by your rack manufacturer.
Can Loose RV Roof Rails Cause the Crossbars to Move?
Yes. If the roof rail or track moves, the crossbar cannot remain securely positioned. Repair the supporting rail or mounting structure before using the rack again.

Jack Collins specializes in RV routes, trail access, and travel logistics. His how-to articles help RV and trailer owners plan smoother trips and avoid common mistakes. Every review focuses on performance, safety, and value.