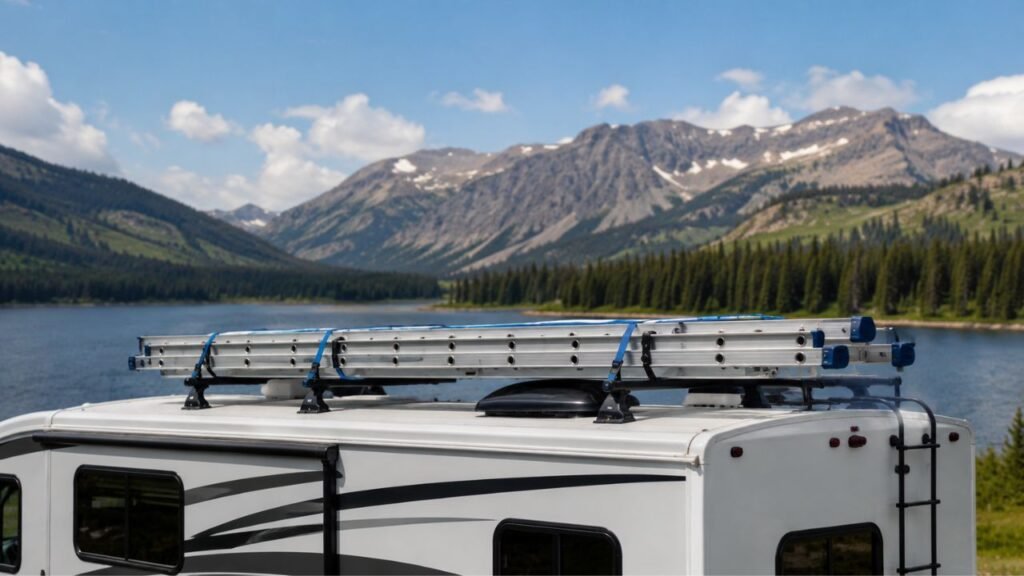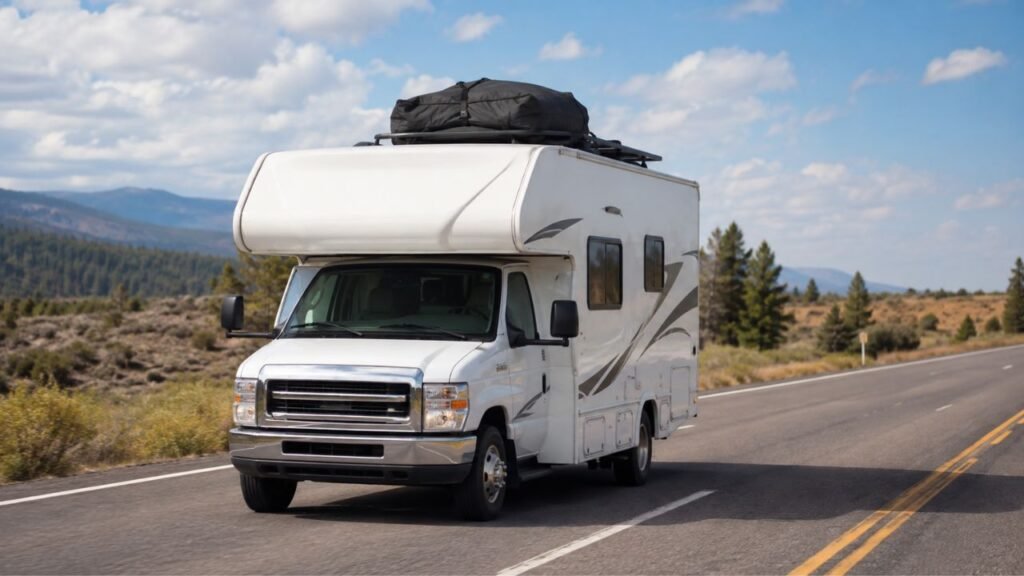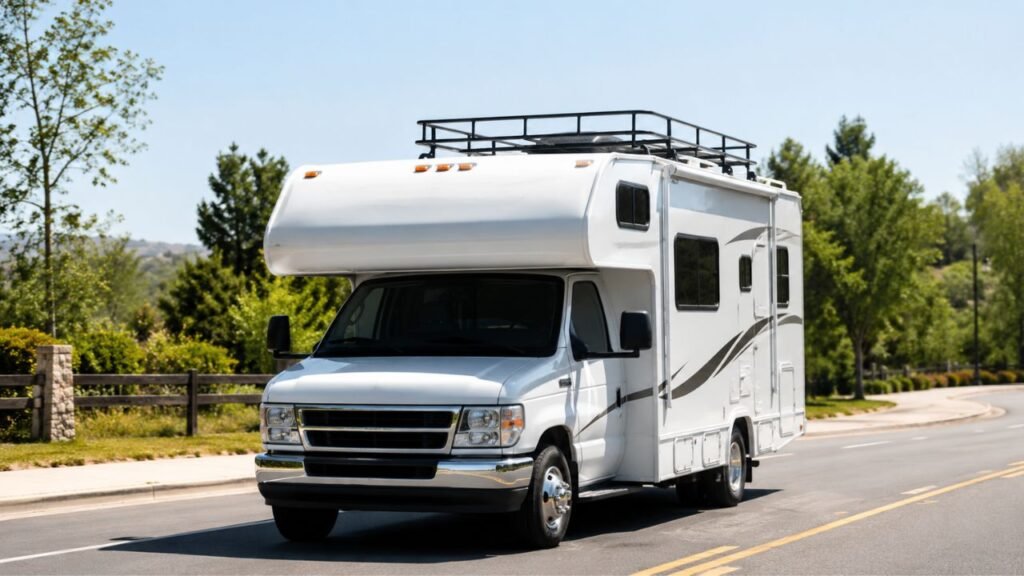
Your RV roof rack usually whistles because fast-moving air hits crossbars, gaps, channels, or loose parts. That airflow can create vibration and high-pitched noise, especially at highway speeds. Missing rubber strips, loose straps, open end caps, and poorly positioned accessories are common causes.
In this guide, I’ll help you identify where the whistle comes from. You’ll also learn which fixes to try first and when noise may signal a safety problem.
Key Takeaways
- Roof rack whistling usually comes from disturbed airflow around the rack.
- Open T-slots, channels, and missing rubber inserts can create sharp whistles.
- Loose straps can sound surprisingly similar to a noisy crossbar.
- Rack position, shape, and rooftop accessories can change airflow dramatically.
- Start with simple inspections before buying fairings or new crossbars.
- A sudden whistle with vibration deserves an immediate safety inspection.
Why Does an RV Roof Rack Whistle at Highway Speeds?
At highway speeds, air moves quickly across your RV roof. When that air reaches a crossbar, it must split and flow around it.
Some of that air separates from the bar’s surface. This creates small swirling pockets behind the bar. These moving air pockets can repeat rapidly and produce vibration.
That effect is often called vortex shedding. You do not need to remember the technical term. Just think of air repeatedly hitting and releasing around the same surface.
Certain gaps can make the effect even stronger. An open channel or hollow bar can behave somewhat like a whistle. Air moves across the opening and creates a concentrated tone.
The sound often gets louder as your RV gains speed. However, the pitch may also change or disappear completely.
That happens because the airflow pattern changes with vehicle speed. Crosswinds and the shape of your RV can change it too.
The roof rack is also sitting in complicated airflow. Your RV’s front cap, roof vents, air conditioner, solar panels, and antennas can redirect incoming air.
That is why the same rack may stay quiet on one RV. On another RV, it may whistle loudly at 60 mph.
What Is Most Likely Causing the Whistle?
Several different parts can create almost the same sound. I recommend checking the simple causes before replacing anything expensive.
Open Crossbar Channels or T-Slots
Many modern crossbars have channels along their upper or lower surfaces. These channels allow accessories to attach more easily.
When sections remain open, fast-moving air can pass across them. That airflow can create a sharp whistling or humming sound.
Check whether any rubber filler strip is missing. Also inspect for gaps between separate pieces.
Sometimes an accessory gets removed, leaving a section exposed. That small opening can create much more noise than expected.
Missing or Loose Crossbar End Caps
Hollow crossbars normally have end caps covering their open ends. These caps help protect the bar and smooth airflow.
If one disappears, air may enter the hollow crossbar. The bar can then behave like a resonating chamber.
A loose cap may cause buzzing instead. Check every end cap before looking for more complicated problems.
Replace cracked, damaged, or poorly fitting caps when necessary.
Hollow, Round, or Square Crossbars
Crossbar shape affects the way air moves around the rack. Blunt shapes usually disturb airflow more than streamlined profiles.
Older square or round bars may create noticeable wind noise. However, that does not mean every traditional bar will whistle.
Installation quality still matters greatly. Even aerodynamic bars can become noisy with open channels or loose parts.
Loose Tie-Down Straps
A loose strap can make an amazingly loud sound. Flat webbing can vibrate rapidly when exposed to highway-speed airflow.
You may hear a high whistle, buzzing sound, or repetitive flutter. The noise can easily seem like it comes from the crossbar.
Roll and secure excess strap material after tightening your load. Never leave long strap tails flapping behind the rack.
Loose Mounting Hardware
Rack feet, brackets, clamps, and bolts experience constant vibration while driving. Over time, some hardware may work slightly loose.
That movement can create rattling or buzzing. In certain cases, it can also change the rack’s angle enough to create wind noise.
Inspect all mounting points carefully. Tighten hardware only to the manufacturer’s recommended specifications.
Avoid overtightening bolts. Excessive force can damage threads, brackets, or plastic mounting parts.
Crossbar Position and Spacing
Small changes in crossbar position can affect airflow considerably. The front bar usually receives the strongest airflow.
Moving a bar slightly may sometimes change the noise. However, only move it within approved installation locations.
Do not reduce required bar spacing just to stop a whistle. Rack spacing also affects load stability and weight distribution.
Roof Rack Accessories
Unused accessories can make noise even when you carry nothing. Bike trays, kayak mounts, cargo baskets, and brackets all disturb airflow.
A small upright bracket can generate more turbulence than expected. Empty accessory holders can also vibrate.
If practical, remove unused accessories and test the RV again.
Cargo or Soft Bags Catching Air
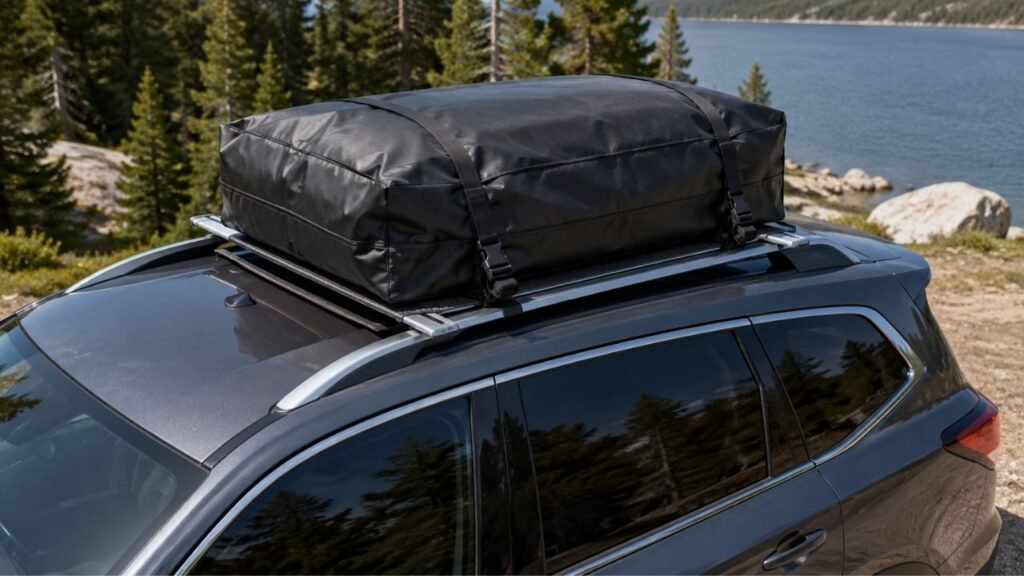
Soft cargo bags, tarps, covers, and poorly secured gear can flutter. Their fabric may move repeatedly as pressure changes around the rack.
This often creates a low humming or pulsing sound. Loose cargo can also cause rattling against the crossbars.
Keep soft loads tight and compact. Secure every loose section before highway driving.
Nearby RV Roof Equipment
The rack may not actually be the problem. RV roofs often contain several items sitting within the same airflow.
Possible sources include:
- Solar panel brackets
- Roof vent covers
- Antennas
- Awning hardware
- Ladder mounts
- Air conditioner shrouds
- Loose roof trim
When troubleshooting, inspect everything near the rack. A nearby loose bracket can sound like a noisy crossbar.
Whistle, Hum, Rattle, or Flutter: What Does the Sound Tell You?
Different noises usually point toward different problems. This table can help narrow down your first inspection.
| Sound | Likely Cause | When It Usually Happens | First Thing to Check |
| High-pitched whistle | Open channel, gap, or crossbar airflow | Specific highway speeds | Rubber fillers and end caps |
| Steady hum | Crossbar turbulence | Faster highway speeds | Bar shape and position |
| Fluttering or buzzing | Loose strap or fabric | Changes with wind | Strap tails and soft cargo |
| Rattle | Loose hardware or accessory | Rough roads and higher speeds | Brackets and mounting bolts |
| Deep rushing sound | Larger airflow turbulence | Highway speeds or crosswinds | Platforms, baskets, and fairings |
The sound alone cannot confirm the exact problem. Still, it gives you a useful place to begin.
How Do I Find Exactly Where the Whistle Is Coming From?
Do not start changing several parts at once. Work through the rack methodically so you can identify the actual cause.
Step 1: Notice When the Noise Starts
Pay attention to the approximate speed where whistling begins.
Does it start around 45 mph? Does it become louder near 65 mph?
Also notice whether crosswinds make it worse. This can help confirm an airflow-related problem.
Step 2: Inspect the Rack While Parked
Park the RV safely before checking anything on the roof.
Inspect the crossbars, mounts, straps, rubber inserts, and end caps. Look for anything loose, missing, cracked, or shifted.
Never try diagnosing roof hardware while the RV is moving.
Step 3: Remove Loose or Unused Items
Remove any unnecessary accessories that can safely come off.
Also secure loose straps, rope, fabric, and cargo covers.
Then drive the same route again if possible.
Step 4: Test the Rack Empty
If the rack whistles while carrying cargo, test it empty.
If the noise disappears, your load may be causing turbulence. The straps or cargo shape may also be involved.
If the whistle remains, focus more closely on the rack itself.
Step 5: Change One Thing at a Time
This step is especially important.
Do not reposition bars, add a fairing, tape channels, and adjust straps simultaneously.
Make one change. Test the RV again. Then move to the next possibility.
That approach helps you identify the actual source instead of guessing.
Step 6: Verify the Installation Instructions
Check the rack manufacturer’s installation directions.
Confirm:
- Correct crossbar orientation
- Required crossbar spacing
- Proper rubber strip placement
- Correct end cap installation
- Approved mounting locations
- Recommended bolt torque
Sometimes the whistle begins because one small installation step was missed.
How to Stop an RV Roof Rack From Whistling
Once you find the likely source, start with the cheapest fix. Most noisy racks do not require complete replacement.
1. Reinstall Missing Rubber Channel Strips
Inspect both the upper and lower channels.
Replace any missing rubber or plastic filler pieces. Make sure they sit flat and leave no unnecessary gaps.
If the strip was cut during accessory installation, check the exposed sections carefully.
2. Replace or Secure the End Caps
Push loose end caps fully into position.
Replace any cap that no longer fits securely.
If the bar is hollow, leaving the end open can dramatically increase whistling.
3. Secure Loose Strap Ends
After tightening your cargo, roll up extra webbing.
Secure the rolled material so wind cannot catch it.
Some RV owners slightly twist flat straps before tightening them. This can reduce vibration in certain situations.
However, correct cargo restraint matters more than any noise-reduction trick.
4. Tighten Rack Feet, Brackets, and Accessories
Inspect each mounting point.
Use the correct tool and follow the manufacturer’s torque recommendation.
Do not simply tighten everything as hard as possible. Over-tightening can damage mounting hardware.
5. Recheck Crossbar Orientation and Position
Aerodynamic bars may have a front and rear edge.
Installing them backward can increase turbulence and noise.
Also verify that each bar sits within its approved mounting area.
If repositioning is allowed, a small adjustment may change the airflow pattern enough to stop the whistle.
6. Remove Unused Roof Rack Accessories
Take off unused bike carriers, kayak mounts, and similar attachments when practical.
Every accessory creates another surface for moving air to hit.
Removing unnecessary hardware may also improve fuel economy slightly.
7. Add a Compatible Wind Fairing
A wind fairing attaches near the front of the rack.
Its job is to redirect incoming air upward and over the crossbars.
Fairings can work well with square bars, cargo baskets, and larger platforms. However, they do not fix missing hardware or loose straps.
Treat a fairing as an airflow solution, not a repair for poor installation.
8. Upgrade to Aerodynamic Crossbars
Consider new crossbars only after simpler fixes fail.
Aerodynamic bars have smoother shapes that help air move around them more cleanly.
They can be worthwhile if you drive frequently with the rack installed. They are also useful when an older rack remains noisy despite correct setup.
Do the Paracord or Bungee-Cord Tricks Actually Work?
Wrapping cord around a crossbar in a spiral can sometimes reduce noise. The spiral interrupts smooth airflow before large repeating vortices develop.
That change may stop a whistle on certain rack designs.
However, I would not make this your first fix.
Inspect rubber strips, end caps, straps, and mounting hardware first. Those items are easier to correct properly.
If you try a cord-based method, secure it extremely well. Never allow loose material to flap, unwind, or interfere with cargo.
Also avoid covering important attachment areas. A temporary airflow trick should never compromise rack safety.
When a Wind Fairing Helps and When It Probably Won’t
A fairing can reduce turbulence around the front of your rack. Still, it works best when airflow is truly the main problem.
A fairing is more likely to help when:
- The front crossbar makes most of the noise.
- You use square or blunt crossbars.
- A cargo basket creates strong airflow turbulence.
- The whistle appears mostly at highway speeds.
- Your rack manufacturer offers a compatible fairing.
Look for another problem first when:
- Rubber channel strips are missing.
- A crossbar end cap is open.
- Strap ends are fluttering.
- A mounting bracket is loose.
- The noise began after adding new cargo.
Fix obvious installation problems before purchasing another accessory.
Why Does the Rack Whistle Only at Certain Speeds?
A roof rack can become noisy only within a narrow speed range.
At a certain speed, airflow around the bar may create stronger repeating pressure changes. That can produce a very noticeable tone.
Drive slightly slower or faster, and the airflow pattern changes. The whistle may become quieter or shift in pitch.
There is no universal speed where roof racks begin whistling.
One RV may whistle around 45 mph. Another may stay quiet until interstate speeds.
Wind direction also changes the result. A strong headwind can make the rack experience higher airflow without increasing vehicle speed.
Why Does My Roof Rack Whistle More When It Is Empty?
This situation is surprisingly common.
Cargo can sometimes interrupt the airflow that normally hits your crossbars. Once you remove the cargo, the bare bars become fully exposed.
That can make an empty rack louder than a loaded one.
The load may also cover open channels or disrupt a resonance point accidentally.
However, do not assume the rack is correctly installed just because cargo stops the noise.
Check filler strips, end caps, and mounting hardware anyway.
Can Crosswinds Make an RV Roof Rack Whistle?
Yes. Crosswinds can change how air strikes your roof rack.
Instead of hitting the bar straight from the front, airflow may reach it from an angle.
That change can create noise around crossbars, baskets, solar panels, and awning hardware.
Tall RVs are especially exposed to changing wind conditions.
If your whistle appears only during strong side winds, inspect nearby rooftop components too.
Is a Whistling RV Roof Rack Dangerous?
A steady aerodynamic whistle is usually more annoying than dangerous. However, a new or changing sound should never be ignored.
Stop safely and inspect the rack when:
- The noise starts suddenly.
- You also feel strong vibration.
- Cargo appears to move.
- A strap is visibly flapping.
- A bracket or crossbar feels loose.
- You recently installed or adjusted the rack.
- The whistle is followed by rattling or knocking.
A harmless airflow whistle usually stays consistent.
Loose cargo or hardware often creates changing sounds and movement.
When in doubt, inspect the system before continuing your trip.
What Not to Do When Trying to Stop Roof Rack Noise
Some quick fixes can create bigger problems if used incorrectly.
- Do not move crossbars beyond approved mounting locations.
- Do not over-tighten mounting bolts.
- Do not block required drainage openings.
- Do not leave rope, foam, tape, or cords loose.
- Do not ignore new vibration with the whistle.
- Do not assume the rack is always the noise source.
- Do not speed up repeatedly when loose cargo is suspected.
A quiet rack is helpful, but safe rack installation matters more.
Quick RV Roof Rack Whistle Troubleshooting Checklist
Work through this checklist before spending money on new parts.
- Inspect every strap and cargo tie-down.
- Check all mounting bolts and brackets.
- Look for missing or loose end caps.
- Inspect top and bottom channel fillers.
- Confirm the crossbars face the correct direction.
- Verify approved crossbar spacing and position.
- Remove unused accessories when practical.
- Test the RV with the rack empty.
- Change only one thing before each road test.
- Try a compatible wind fairing if needed.
- Consider aerodynamic bars only after simpler fixes fail.
Final Words
An RV roof rack whistle is usually easier to solve than it sounds. A tiny channel gap, loose strap, missing end cap, or accessory can create surprisingly loud highway noise.
Start with a careful inspection and work through one fix at a time. In many cases, you can quiet the rack without replacing anything expensive.
Related FAQs
Why Did My RV Roof Rack Suddenly Start Whistling?
A sudden whistle often means something changed. Check loose straps, missing end caps, shifted accessories, rubber fillers, and mounting hardware before your next highway drive.
Why Does My Roof Rack Whistle Above 50 MPH?
Higher speeds increase airflow around the crossbars. At certain speeds, that airflow can create stronger turbulence or resonance, producing a noticeable whistle.
Can Missing Rubber Strips Make a Roof Rack Whistle?
Yes. Rubber strips fill open channels and smooth airflow across the bar. Missing sections can leave openings that produce sharp wind noise.
Will a Wind Deflector Stop Roof Rack Whistling?
A wind deflector can reduce whistling caused by airflow around the front crossbar. However, it will not fix loose hardware, missing fillers, or flapping straps.
Why Does My Roof Rack Whistle With Nothing on It?
An empty rack exposes the crossbars directly to moving air. Cargo sometimes interrupts that airflow, so the bare rack may actually sound louder.
Do Aerodynamic Crossbars Make Less Noise?
Usually, yes. Their streamlined shape allows air to flow more smoothly around the bar, which can reduce turbulence and highway wind noise.
Can Loose Roof Rack Straps Cause a Whistling Sound?
Yes. Flat strap ends can vibrate rapidly in moving air and create whistling, humming, or buzzing sounds that resemble rack noise.
Can I Use Tape to Stop a Roof Rack From Whistling?
Tape may help temporarily seal a small gap for testing. For a permanent fix, use the correct channel filler, end cap, or replacement part.
Can an RV Solar Panel Sound Like a Whistling Roof Rack?
Yes. Solar panel edges, brackets, and wiring can create wind noise. Inspect nearby rooftop equipment if the rack itself appears secure.
Should I Remove My RV Roof Rack When I Am Not Using It?
You can remove it if the rack is designed for easy removal. Doing so may reduce noise and drag, but correctly installed aerodynamic racks can often remain quiet.

Jack Collins specializes in RV routes, trail access, and travel logistics. His how-to articles help RV and trailer owners plan smoother trips and avoid common mistakes. Every review focuses on performance, safety, and value.